# End-user group management
Workato Identity enables you to create and manage end-user groups. You can store end-users and end-user groups with customized environment access and assign access to specific groups. This lets you scope user access more securely.
You can also enable user group syncing to automatically update user group memberships in Workato based on group information from your identity provider.
# End-user groups
End-user groups are created within specific environments. You must add end-users to your external IdP or add end-users manually before you can assign them to a user group. Each end-user group must have at least one end user assigned to it.
# Create an end-user group
End-user groups are specific to each environment. You must select the environment before you can create a group.
ENVIRONMENT AVAILABILITY
Workspaces without Environments provisioned only have one environment available.
Complete the following steps to create an end-user group in an environment:
Sign in to Workato.
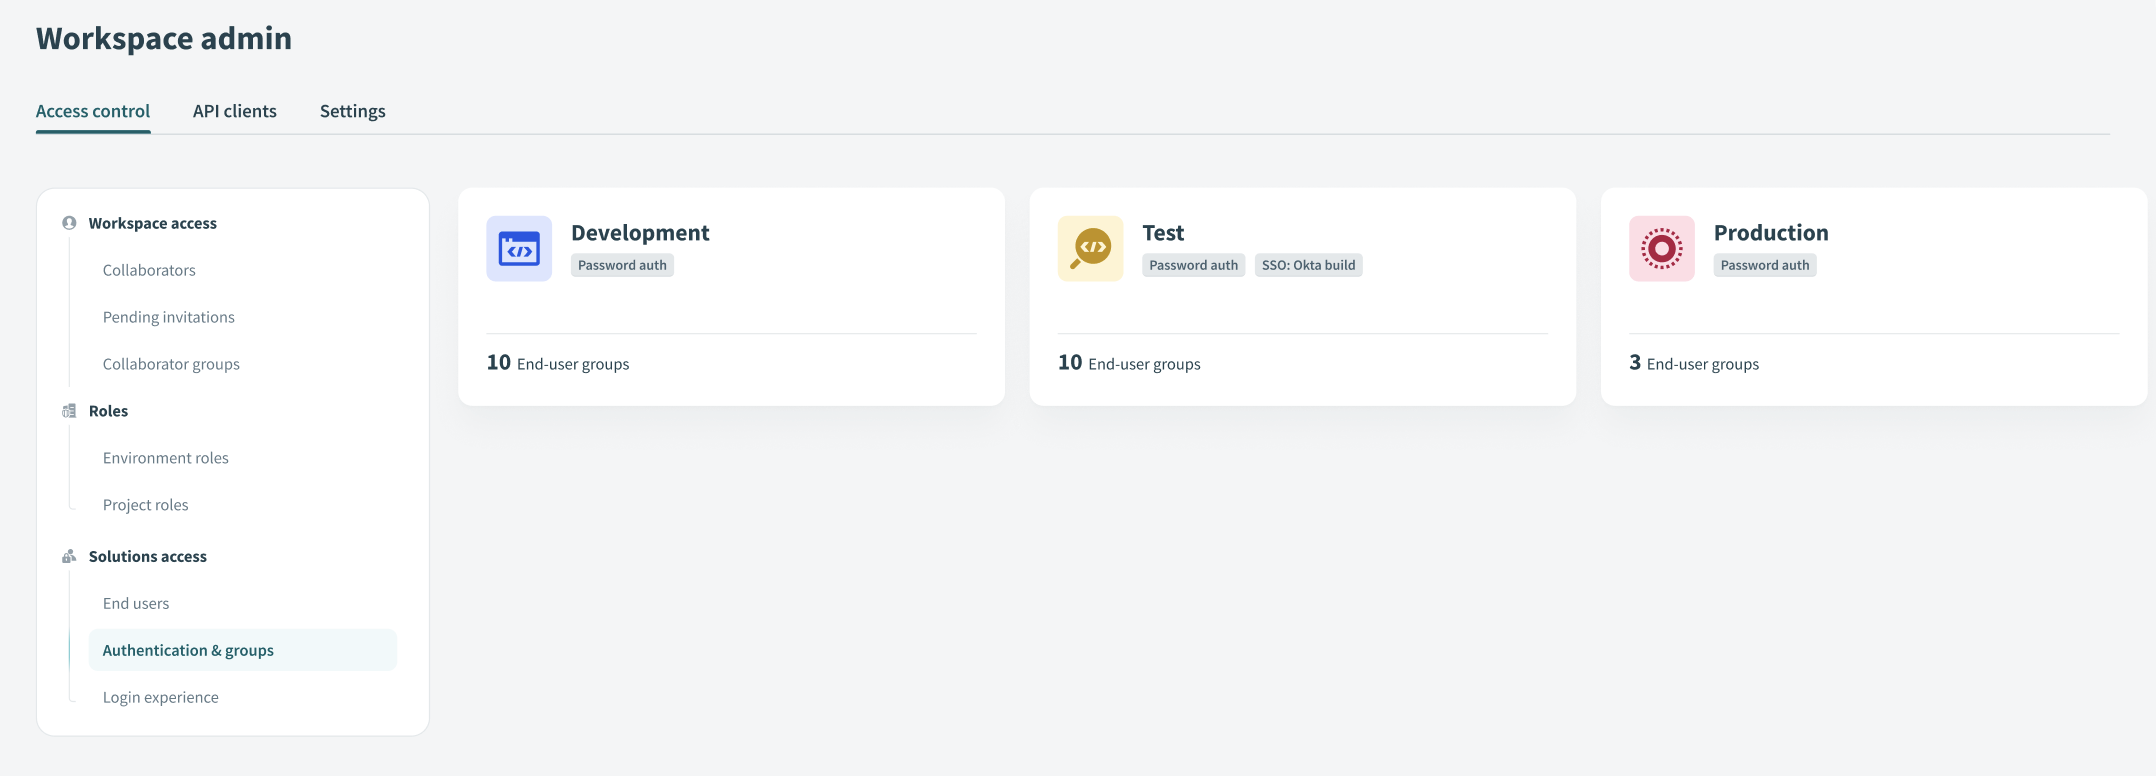
Click Workspace admin in the sidebar. The Access control page displays by default.
Click Authentication & Groups in the sidebar.
Select the environment where you plan to create a group. The environment End-user group page displays by default.
 Select the environment
Click + Create end-user group.
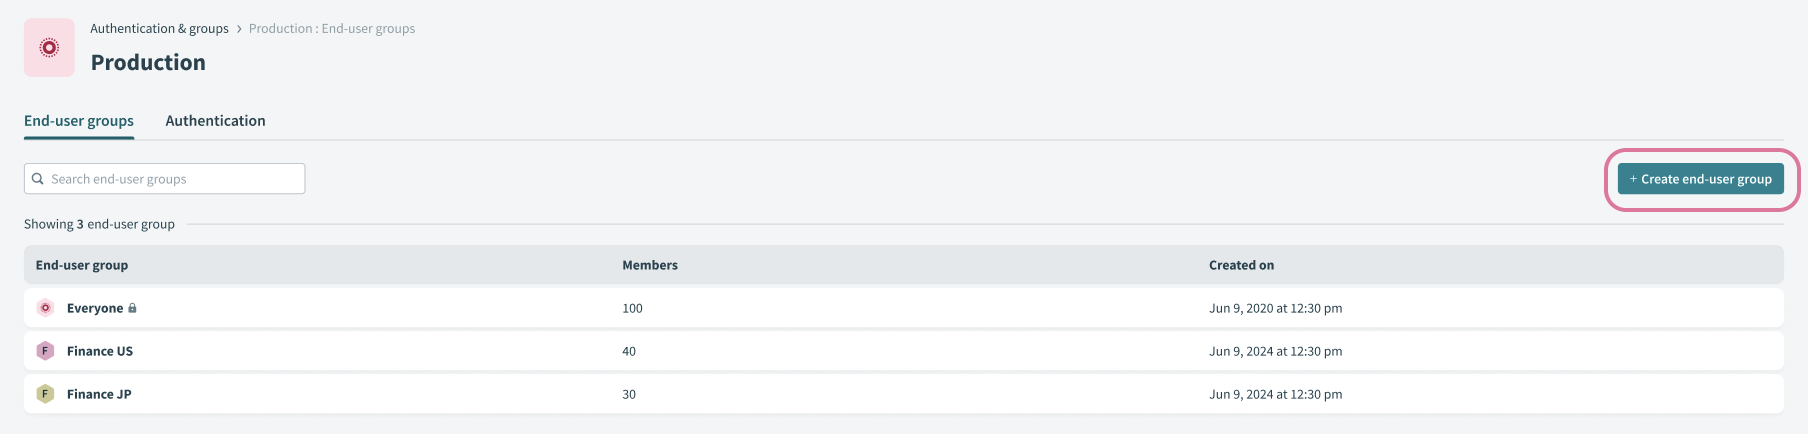 Click + Create end-user group
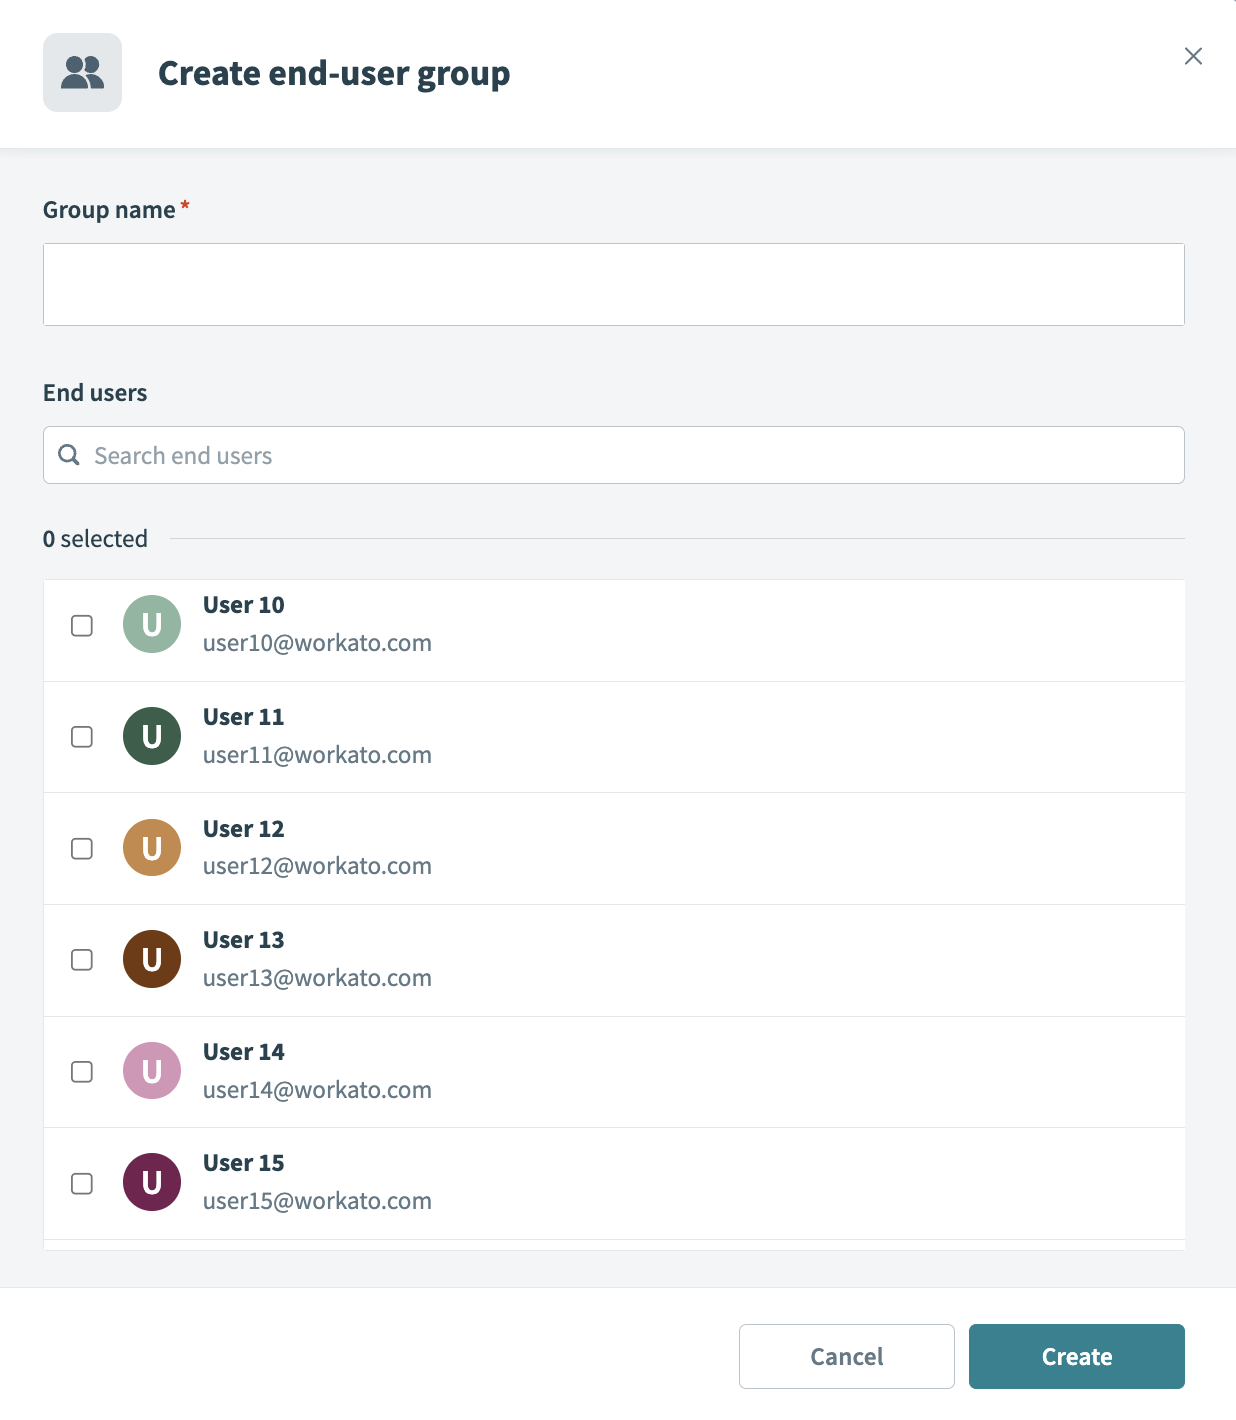
Provide a name for the group in the Group name field.
 Create the end-user group
Select the end-users you plan to add to the end-user group. Each end-user group must include at least one end user.
Click Create.
# Grant access to users and groups
You can provide individual users and groups with feature access.
Complete the following steps grant access to users and groups:
Sign in to Workato.
Go to End user access page of the feature where you plan to add user or group access. For example:
- Go to AI Hub > Genies > End user access.
- Go to AI Hub > Workato GO > End user access.
- Go to AI Hub > MCP servers > End user access.
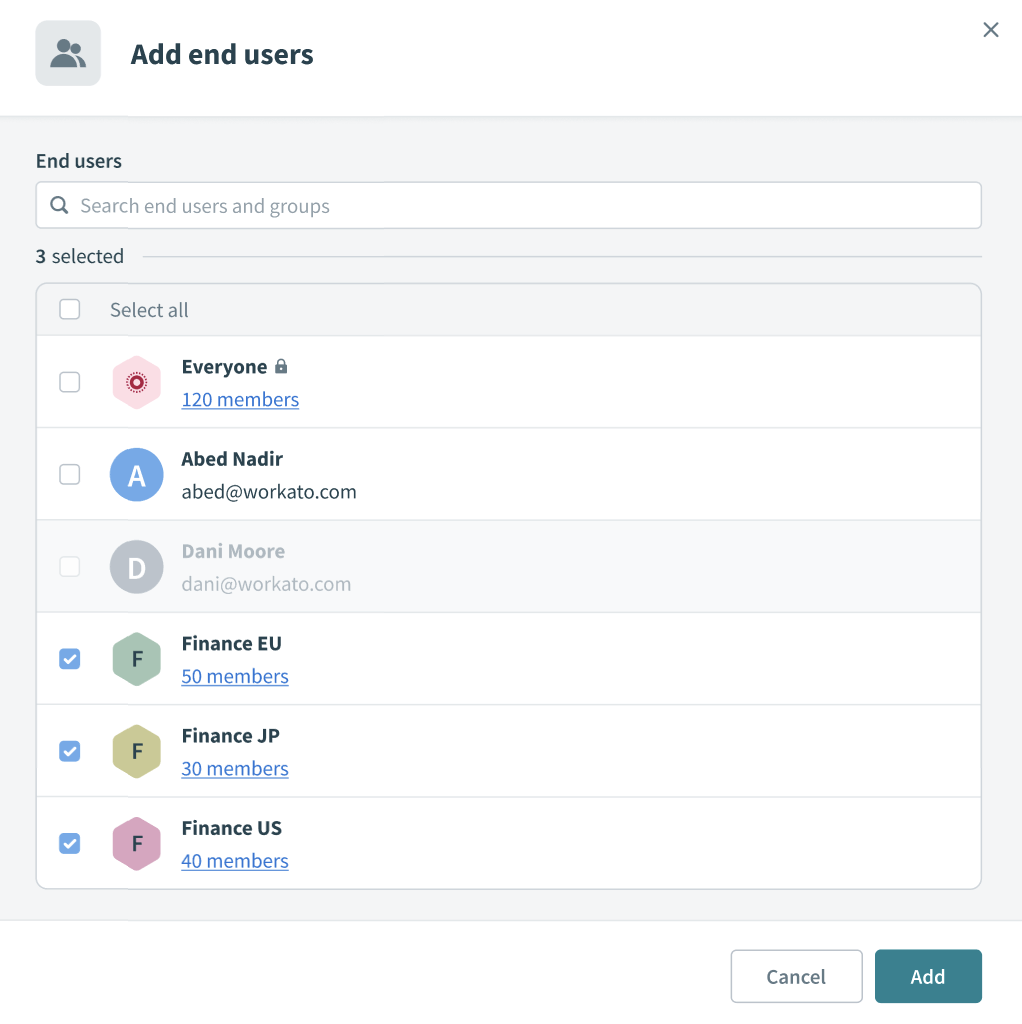
Click Add end users.
Select the individual users or groups you plan to provide with feature access.
 Select individual users or groups
Click Add.
# Revoke user access to an environment
You can revoke user access to a specific environment if permissions are no longer needed.
Complete the following steps to revoke user access to an environment:
Sign in to Workato.
Click End users in the sidebar.
Search for and select the user profile where you plan to revoke environment access.
Deselect the environment checkbox to remove user access.
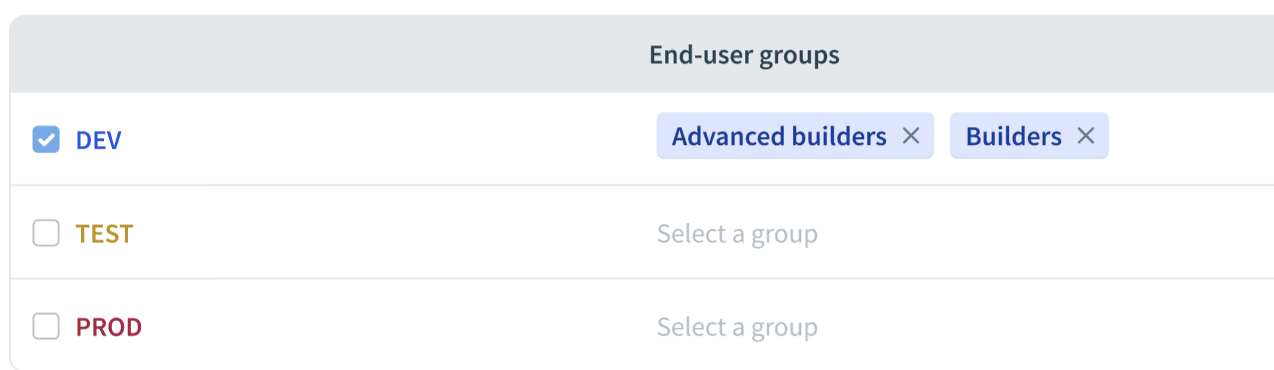 Remove environment access
Select the checkbox in the revoke access confirmation screen when prompted.
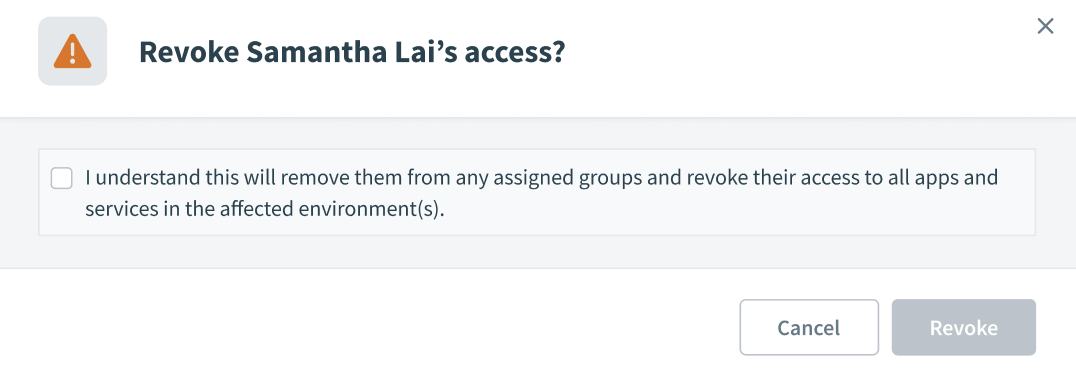 Select the checkbox in the revoke access confirmation screen
Click Save.
Last updated: 2/5/2026, 11:48:05 PM