Set up Azure Key Vault for project-level secrets management
Switching to project-specific secrets management causes external secrets references scoped to the workspace level to stop working.
Prerequisites
To complete the steps in this guide, you must have the following:
- An existing key vault.
- A registered application with an appropriate role policy assigned:
- For key vaults using role-based access control (RBAC), the registered app must have the Key Vault Secrets User role.
- For key vaults using access policies, the registered app must have the Get secret permission.
REGISTERING AN APPLICATION
To learn how to register an application, see Registering an application with Microsoft Entra ID.
Select the scope for secrets management
Sign in to Workato.
Go to Workspace admin > Settings > External secrets manager.
Click the Use external secrets manager toggle.
Select the Set up secrets management for each project individually option from the Scope drop-down menu.
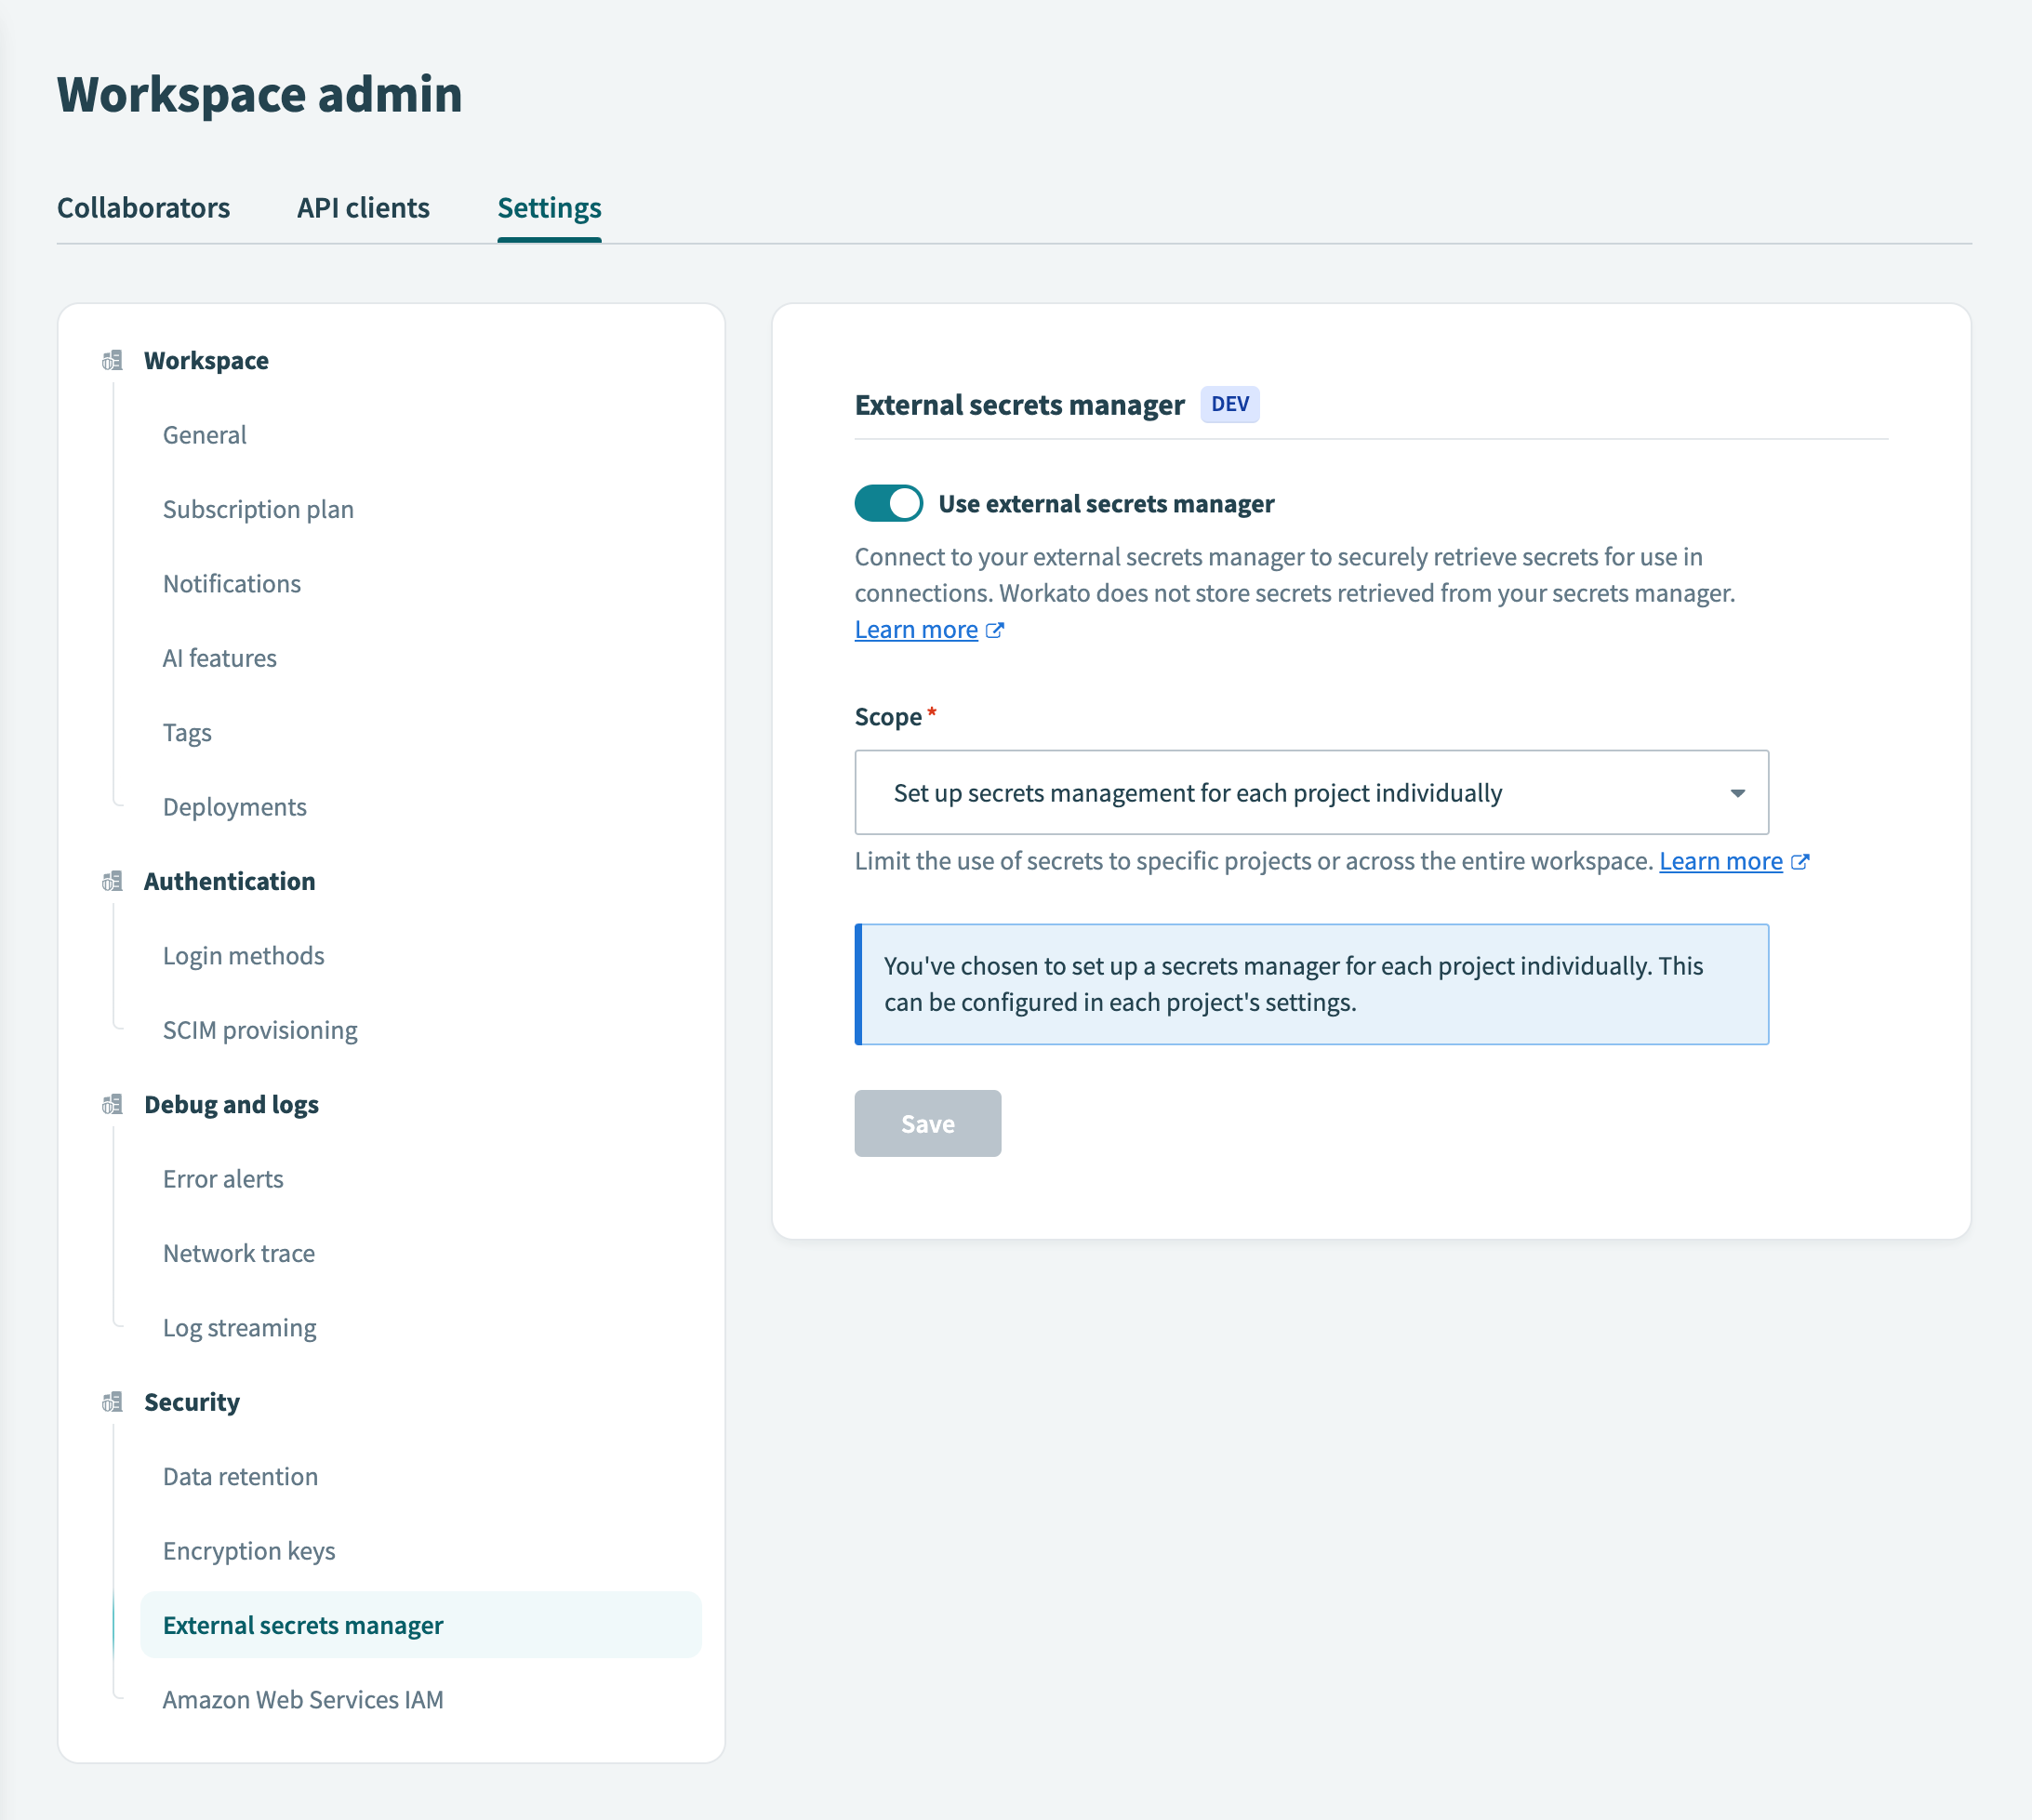 Set up secrets management for each project individually
Click Save.
If you switch secrets management scopes, Workato notifies you that existing external secret references scoped to the project level will no longer function.
To proceed with switching from workspace-level to project-level secrets management, select the checkbox to acknowledge the impact and click Use project-specific secrets.
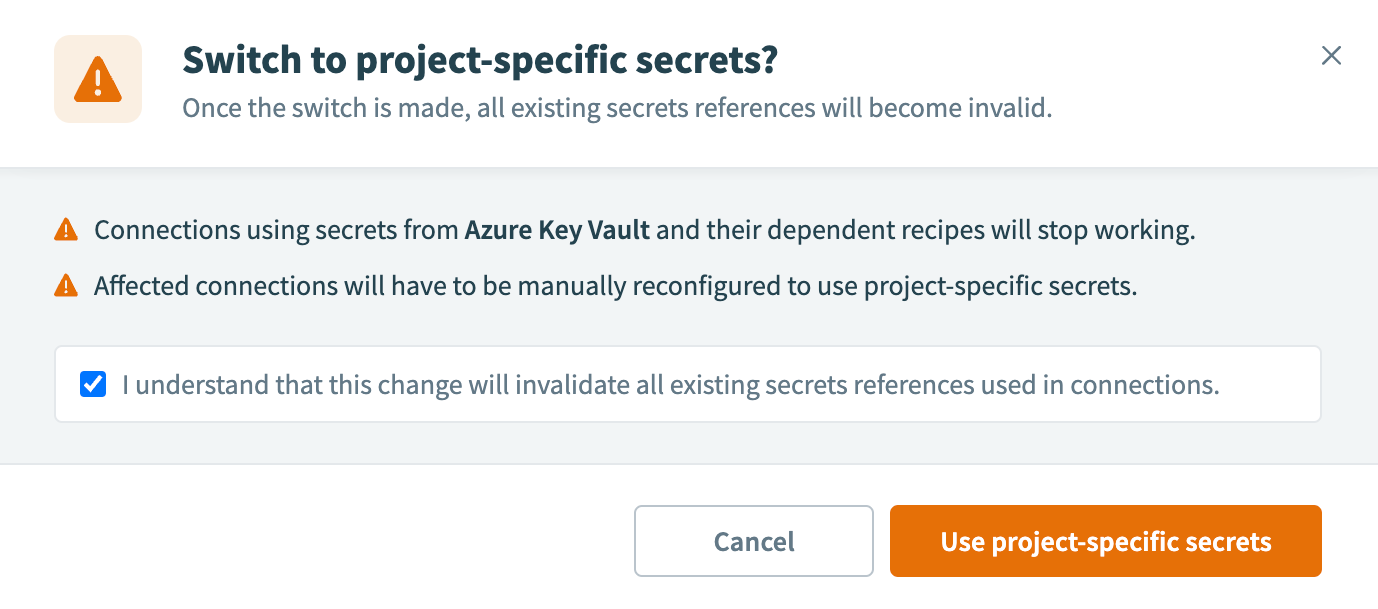 Use project-specific secrets
Select the project
In Workato, navigate to your projects.
Select the project that you plan to configure with secrets management.
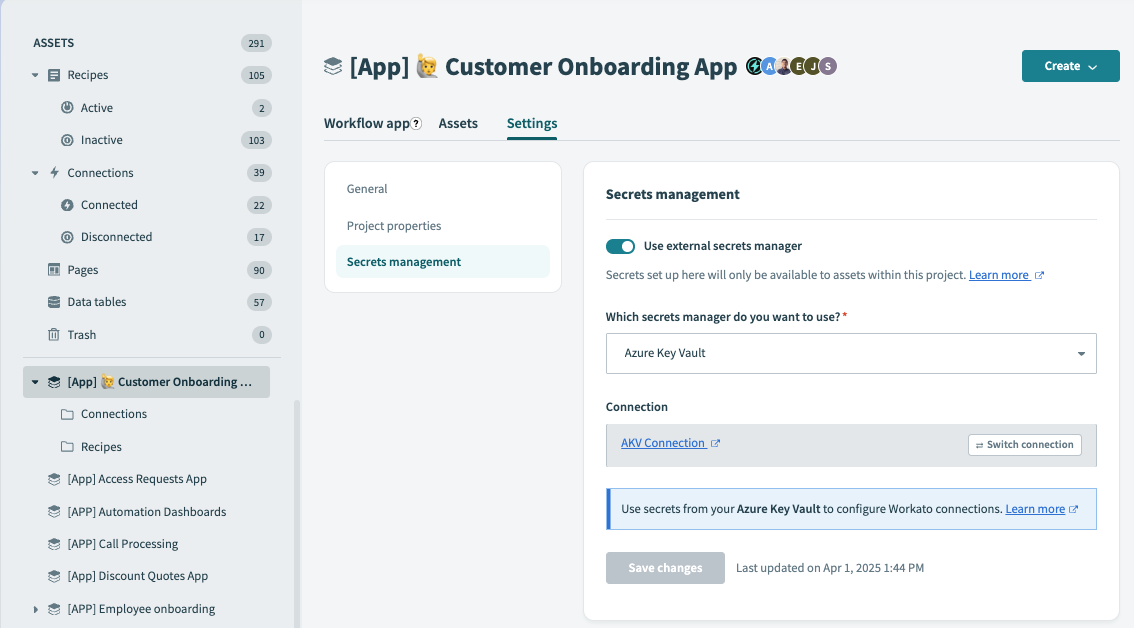
In the project, go to Workspace admin > Settings > External secrets manager.
In the Which secrets manager do you want to use? field, select Azure Key Vault.
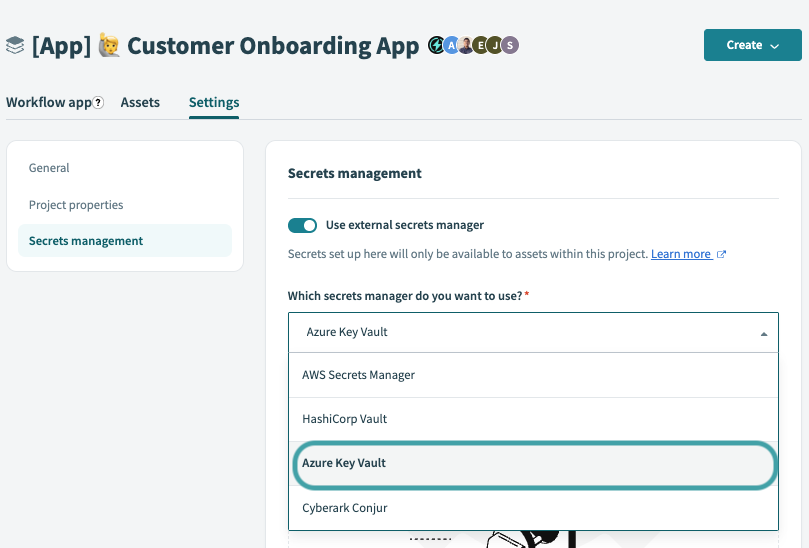 Secrets management interface of a project
Click Set up connection.
In the Connect to Azure Key Vault modal, select + Create a new connection.
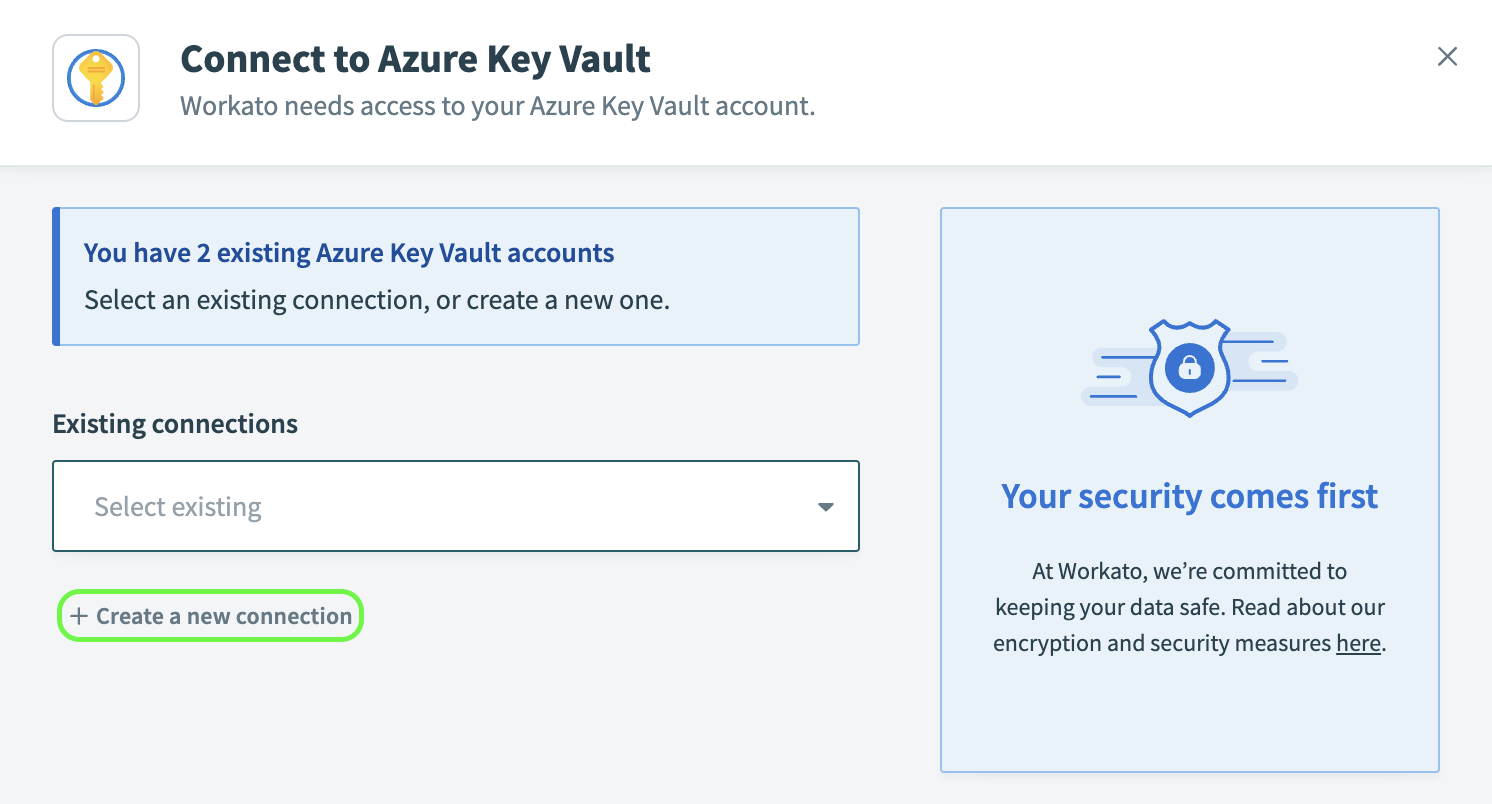 Create a new Azure Key Vault connection
Connect to Azure Key Vault
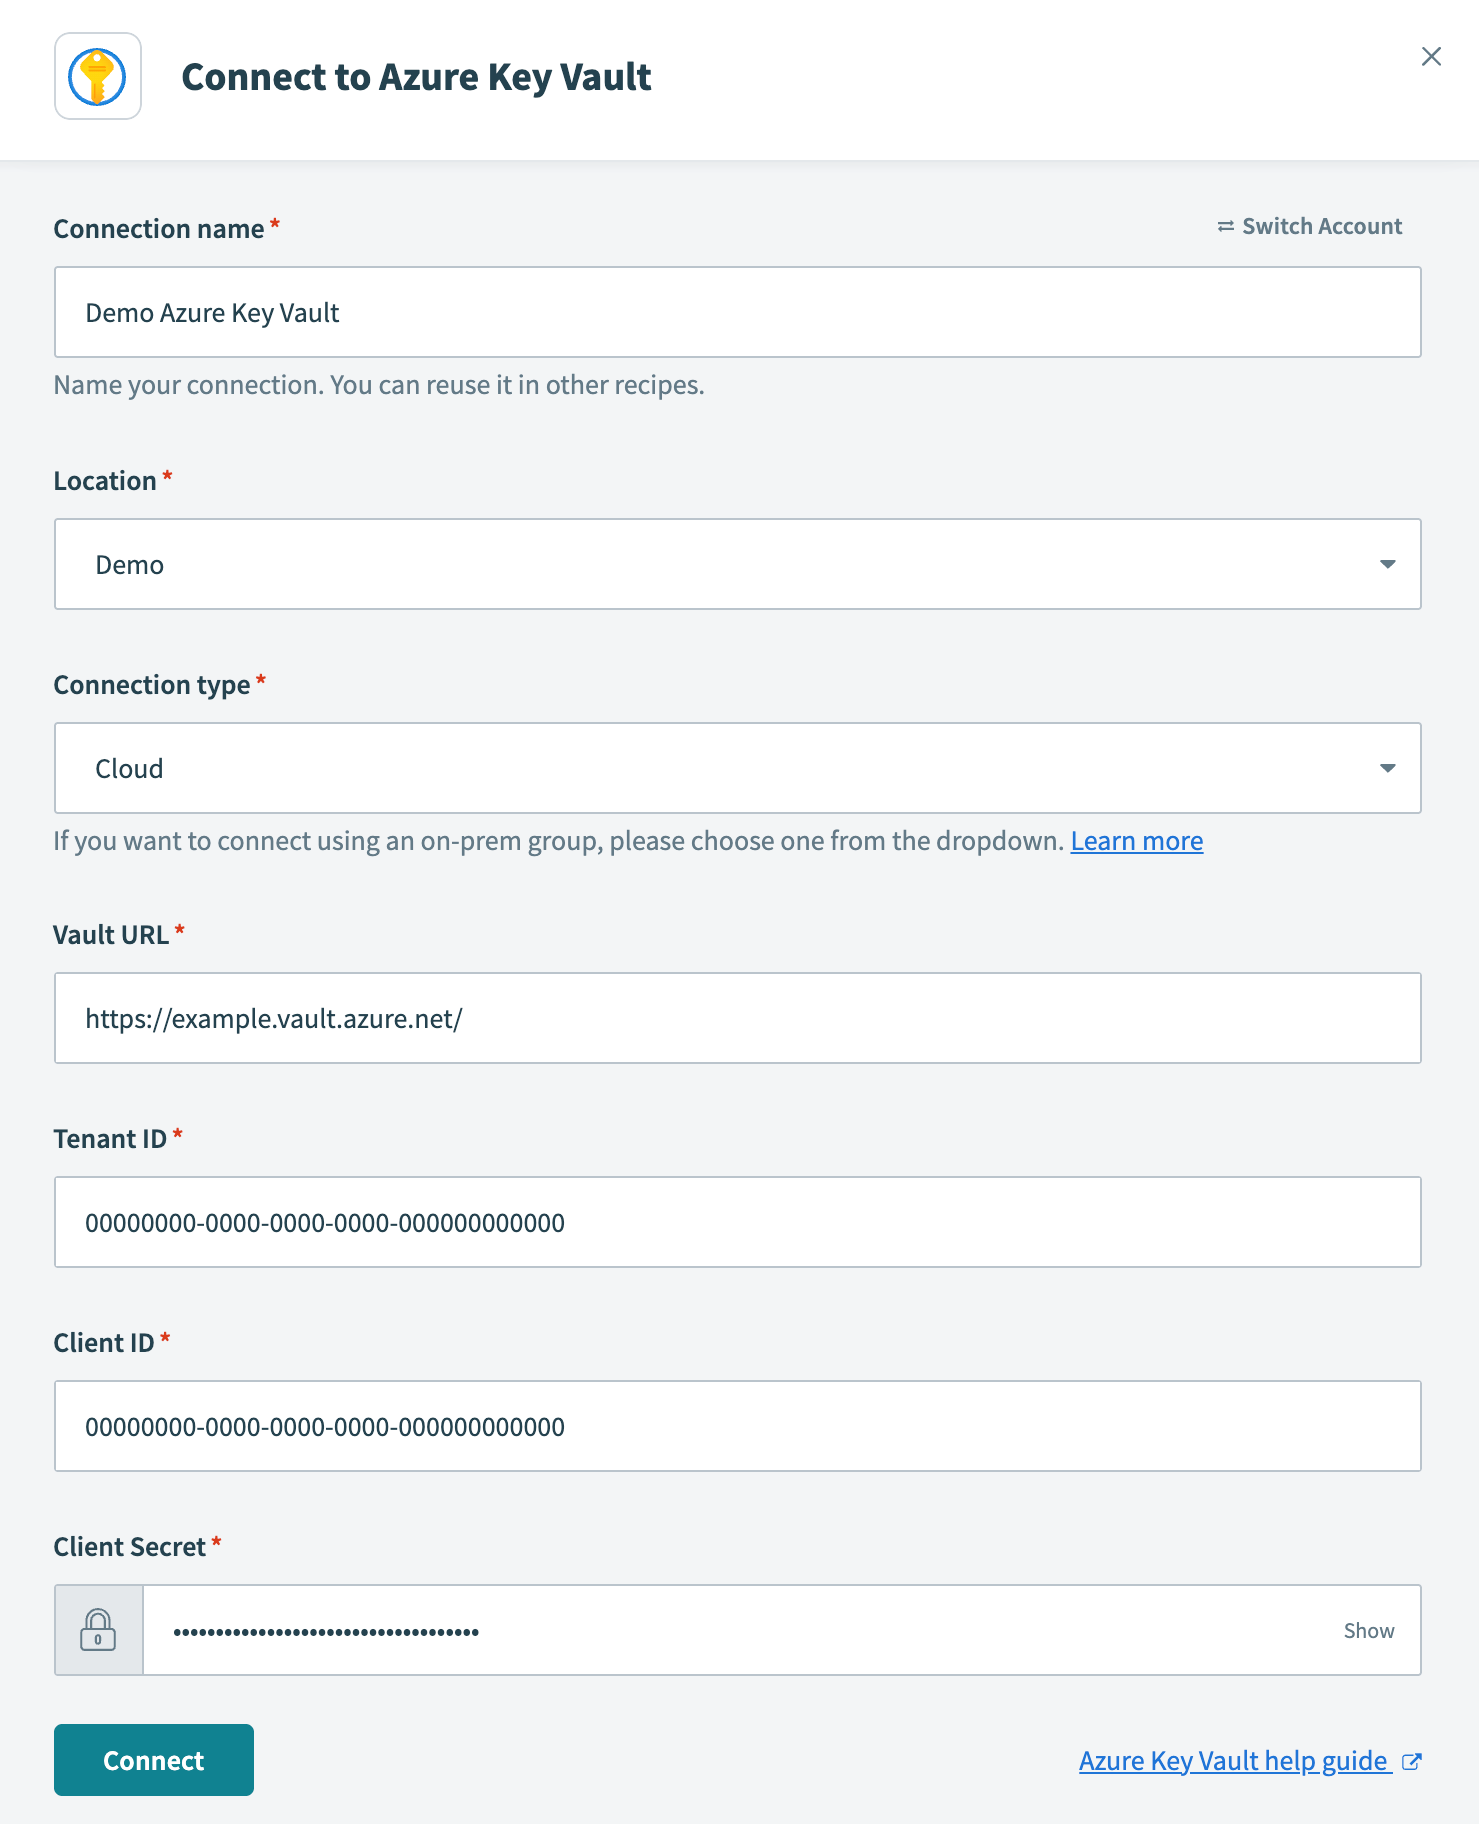 Configure Azure Key Vault connection
- Connection name
- Name your Azure Key Vault connection.
- Location
- Select the project or folder to store your Azure Key Vault connection.
- Connection type
- Specify whether this is a cloud or on-prem connection. If you're connecting to an on-prem Azure Key Vault instance, select the appropriate on-prem group from the drop-down menu.
- Vault URL
- Provide the URL of your key vault. Obtain this value by navigating to Azure portal > Key vaults. Select the desired key vault and copy the Vault URI shown in the Overview. In our example, we connect to the vault URL
https://example.vault.azure.net/.
- Tenant ID
- Provide the ID of the tenant where your key vault and app registration are located. Azure refers to this as the Directory (tenant) ID. Obtain this value by navigating to Azure portal > App registrations. Select your registered application and copy the Directory (tenant) ID shown in the Overview.
- Client ID
- Provide your client ID, which Azure refers to as the Application (client) ID. Obtain this value by navigating to Azure portal > App registrations. Select your registered application and copy the Application (client) ID shown in the Overview.
- Client Secret
- Provide your client secret, which Azure refers to as the secret Value. Azure only displays this value when the secret is generated. If you need to generate a new secret, see Registering an application with Microsoft Entra ID, Step 2.
Click Connect. Workato displays the name of the Azure Key Vault connection:
 Connection successful
Click Save changes.
FURTHER READING
Last updated: