Configure Azure Blob Storage as your data pipeline source
Set up Azure Blob Storage as a data pipeline source to extract and sync records into your destination. This guide includes connection setup, pipeline configuration, and key behavior for working with .csv files stored in Azure Blob containers.
Features supported
The following features are supported when using Azure Blob Storage as a data pipeline source:
- Extract and sync data from
.csvfiles in Blob containers - Support for full and incremental sync through file detection
- Field-level selection for data extraction
- Field-level data masking
Prerequisites
You must have the following configuration and access:
- An Azure account with Blob Storage containers storing
.csvfiles - Access to the storage account and container
- Required permissions to read from containers and blobs
- Folder paths and file patterns for the files to sync
How to connect
Complete the following steps to connect to Azure Blob Storage as a data pipeline source. This connection allows the pipeline to extract and sync records from blob containers.
Select Create > Connection.
Search for and select Azure Blob Storage on the New connection page.
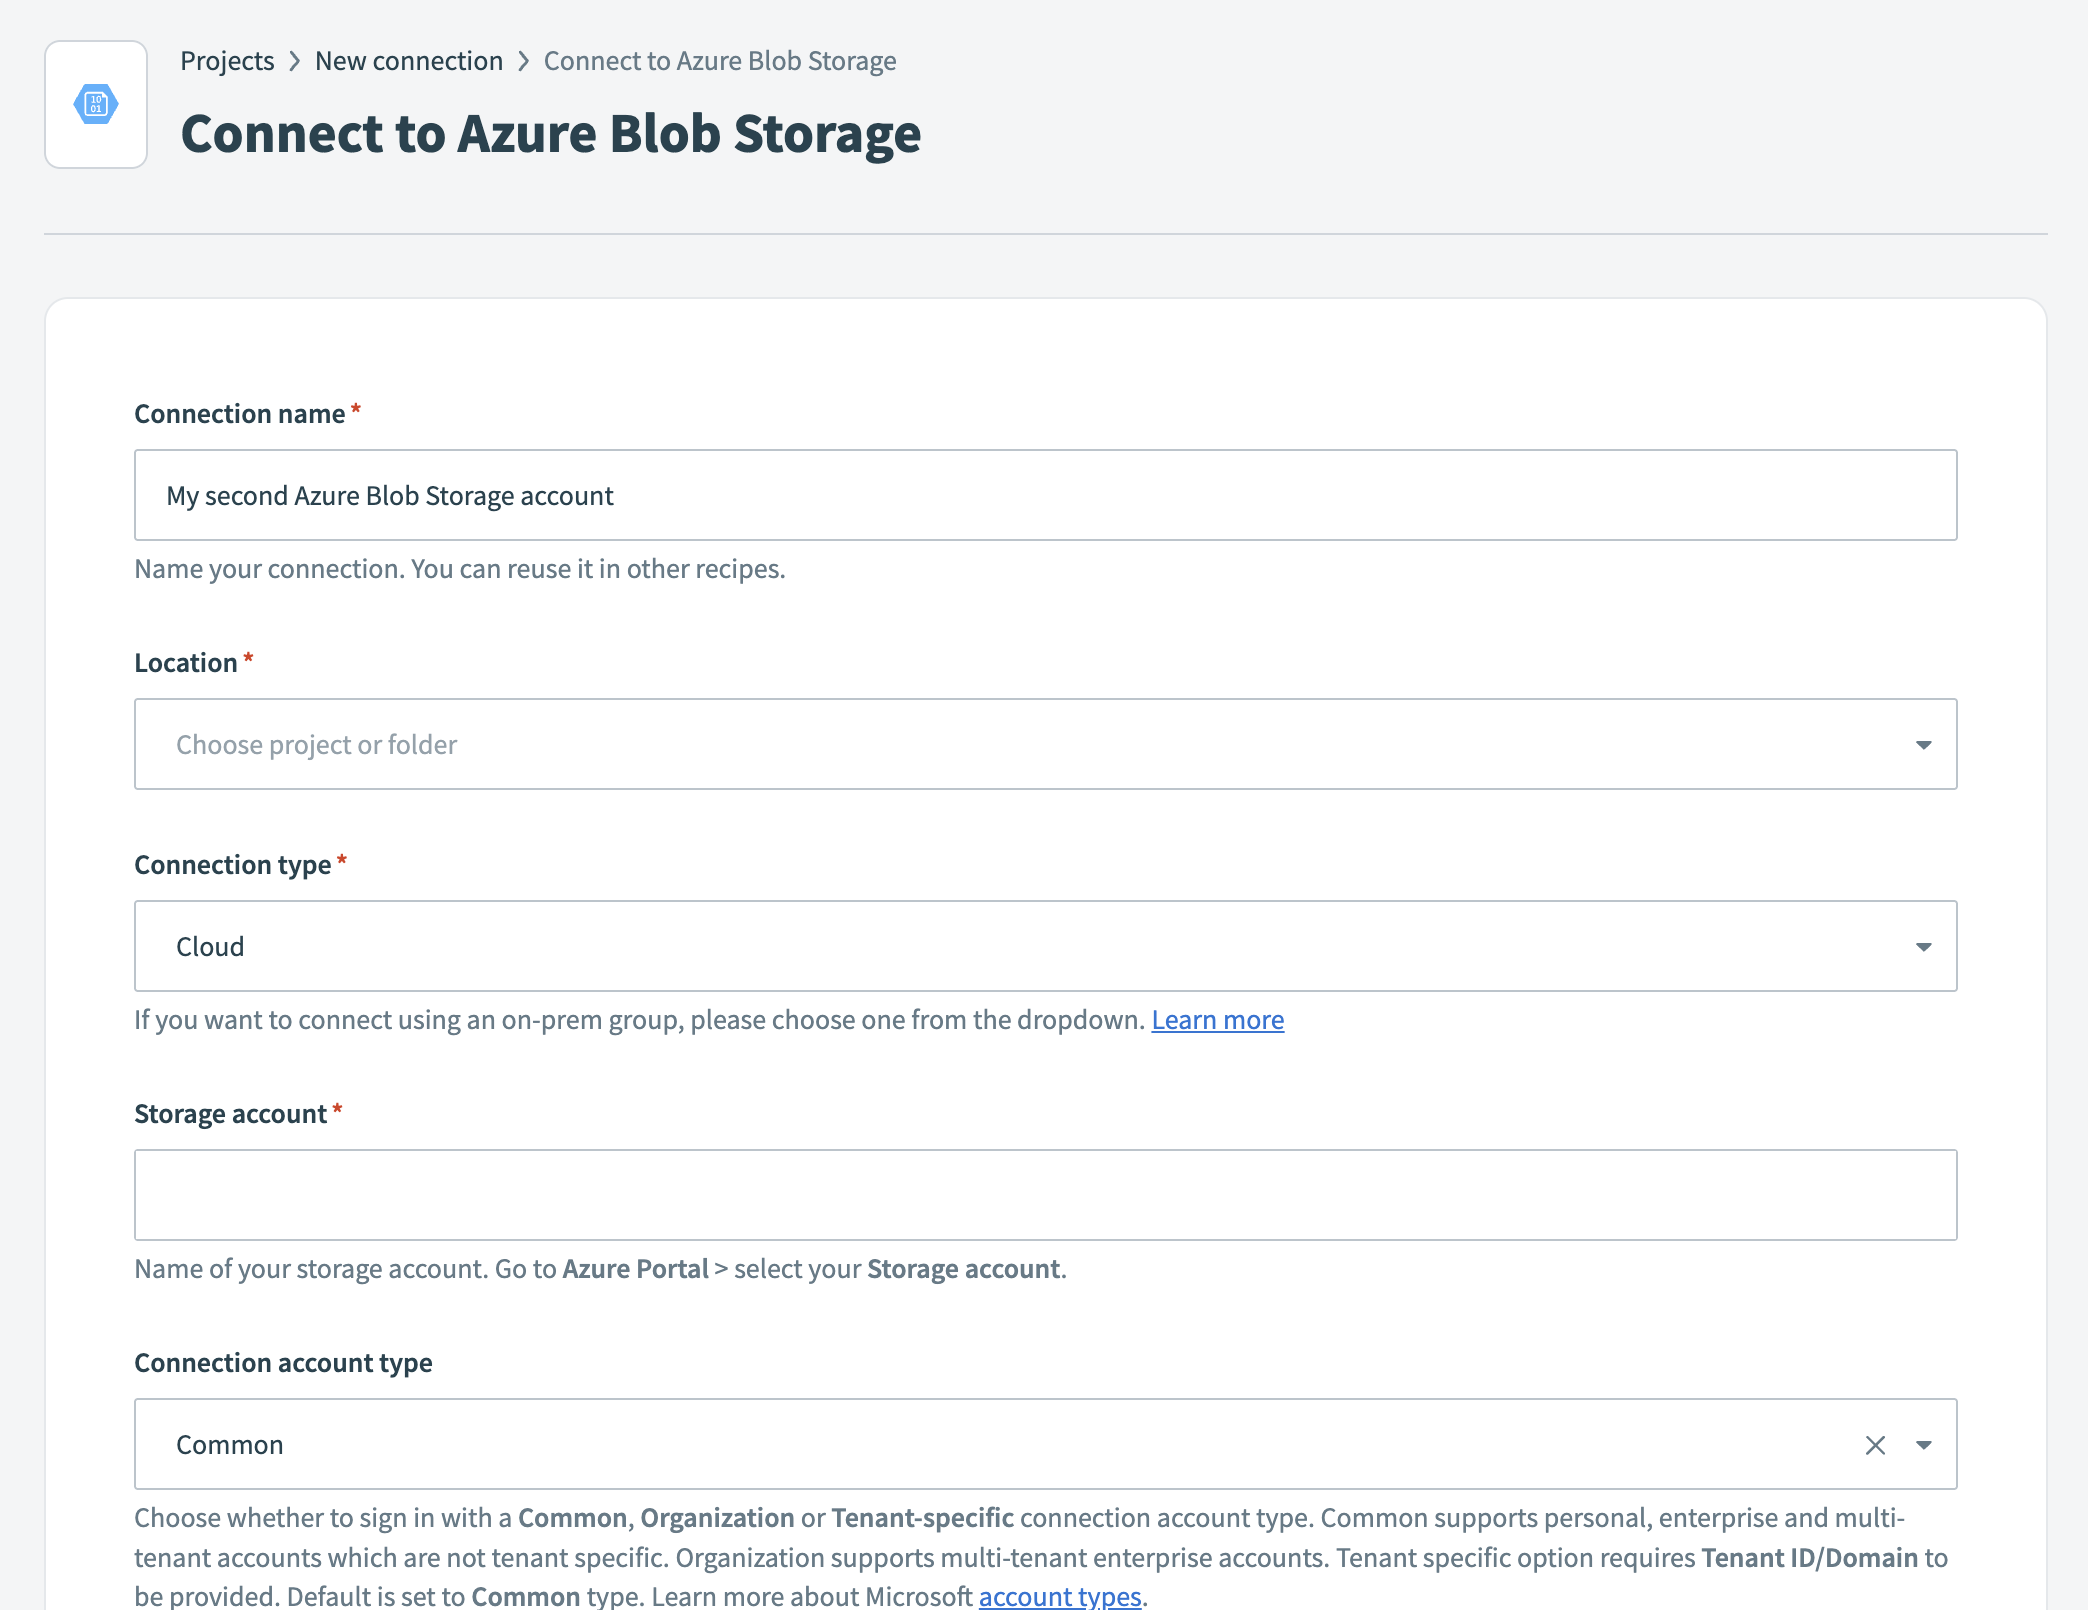
Enter a name in the Connection name field.
 Azure Blob Storage
Use the Location drop-down to select the project where you plan to store the connection.
Select Cloud in the Connection type field, unless you need to connect through an on-prem group.
Enter your Azure Storage account name. You can find this value in the Azure Portal > Storage accounts section.
Select the Connection account type:
Common: Supports personal, enterprise, and multi-tenant accounts that are not tenant-specific.
Organization: Supports multi-tenant enterprise accounts.
Tenant-specific: Requires you to provide the Tenant ID or Domain.
The default is the Common type.
Go to Advanced settings to manage additional configurations based on your connection:.
Enter the Client ID from your Azure app registration. Refer to the Azure Portal > App registrations section to retrieve it.
Enter the Client secret from Certificates & secrets in the Azure Portal.
Optional. Enter an Access key to support the Generate presigned URL action. You can find this in the Azure Portal under the Storage account > Access keys.
Click Sign in with Microsoft. Authorize the necessary permissions to complete the connection setup.
Configure the pipeline
Complete the following steps to configure Azure Blob Storage as your data pipeline source:
Select Create > Data pipeline.
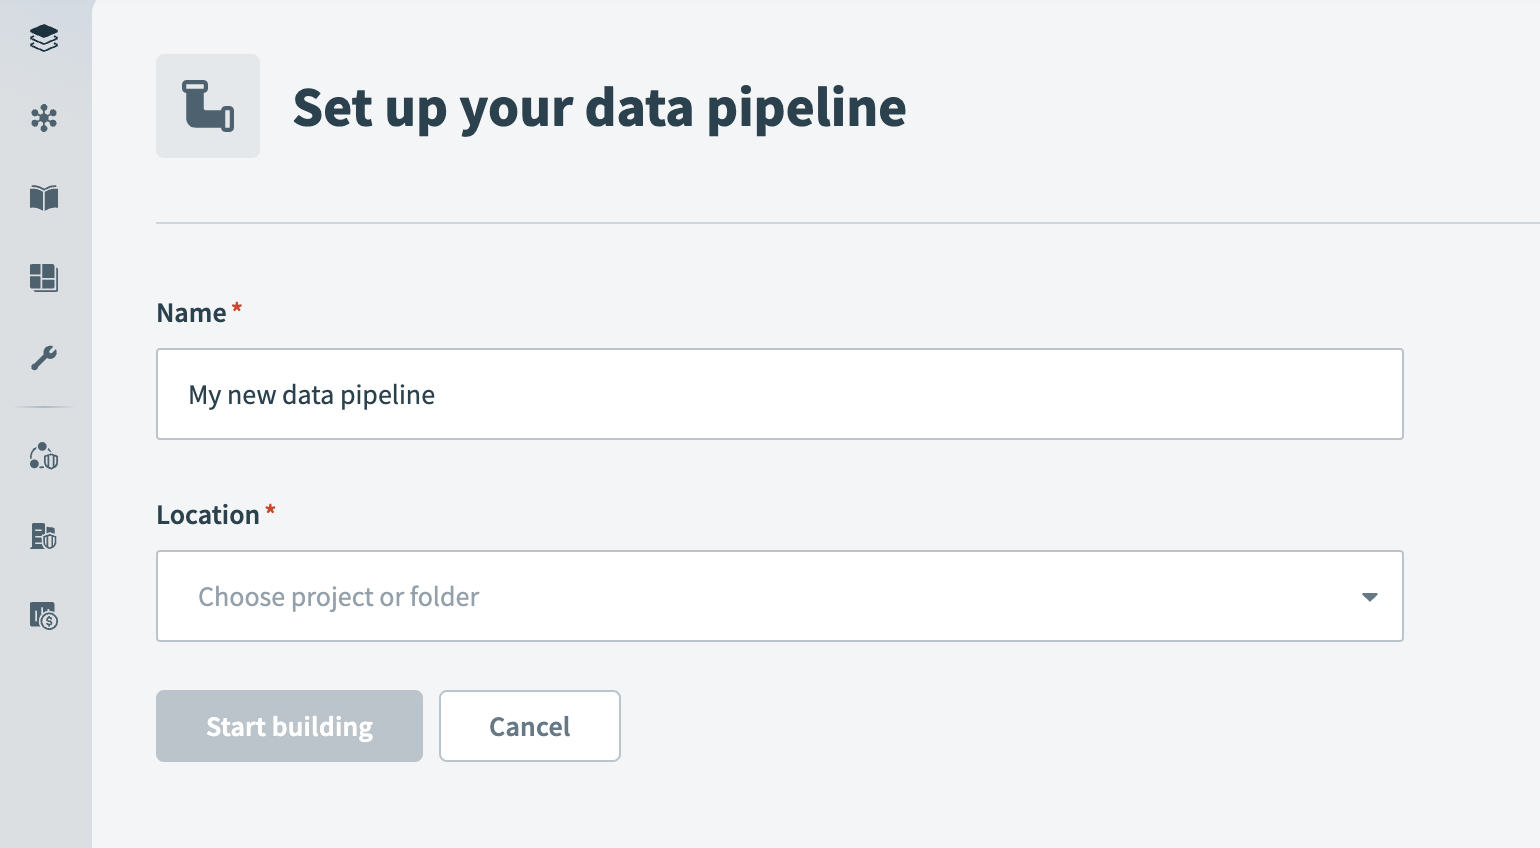
Provide a Name for the data pipeline.
 Data pipeline setup
Use the Location drop-down menu to select the project where you plan to store the data pipeline.
Select Start building.
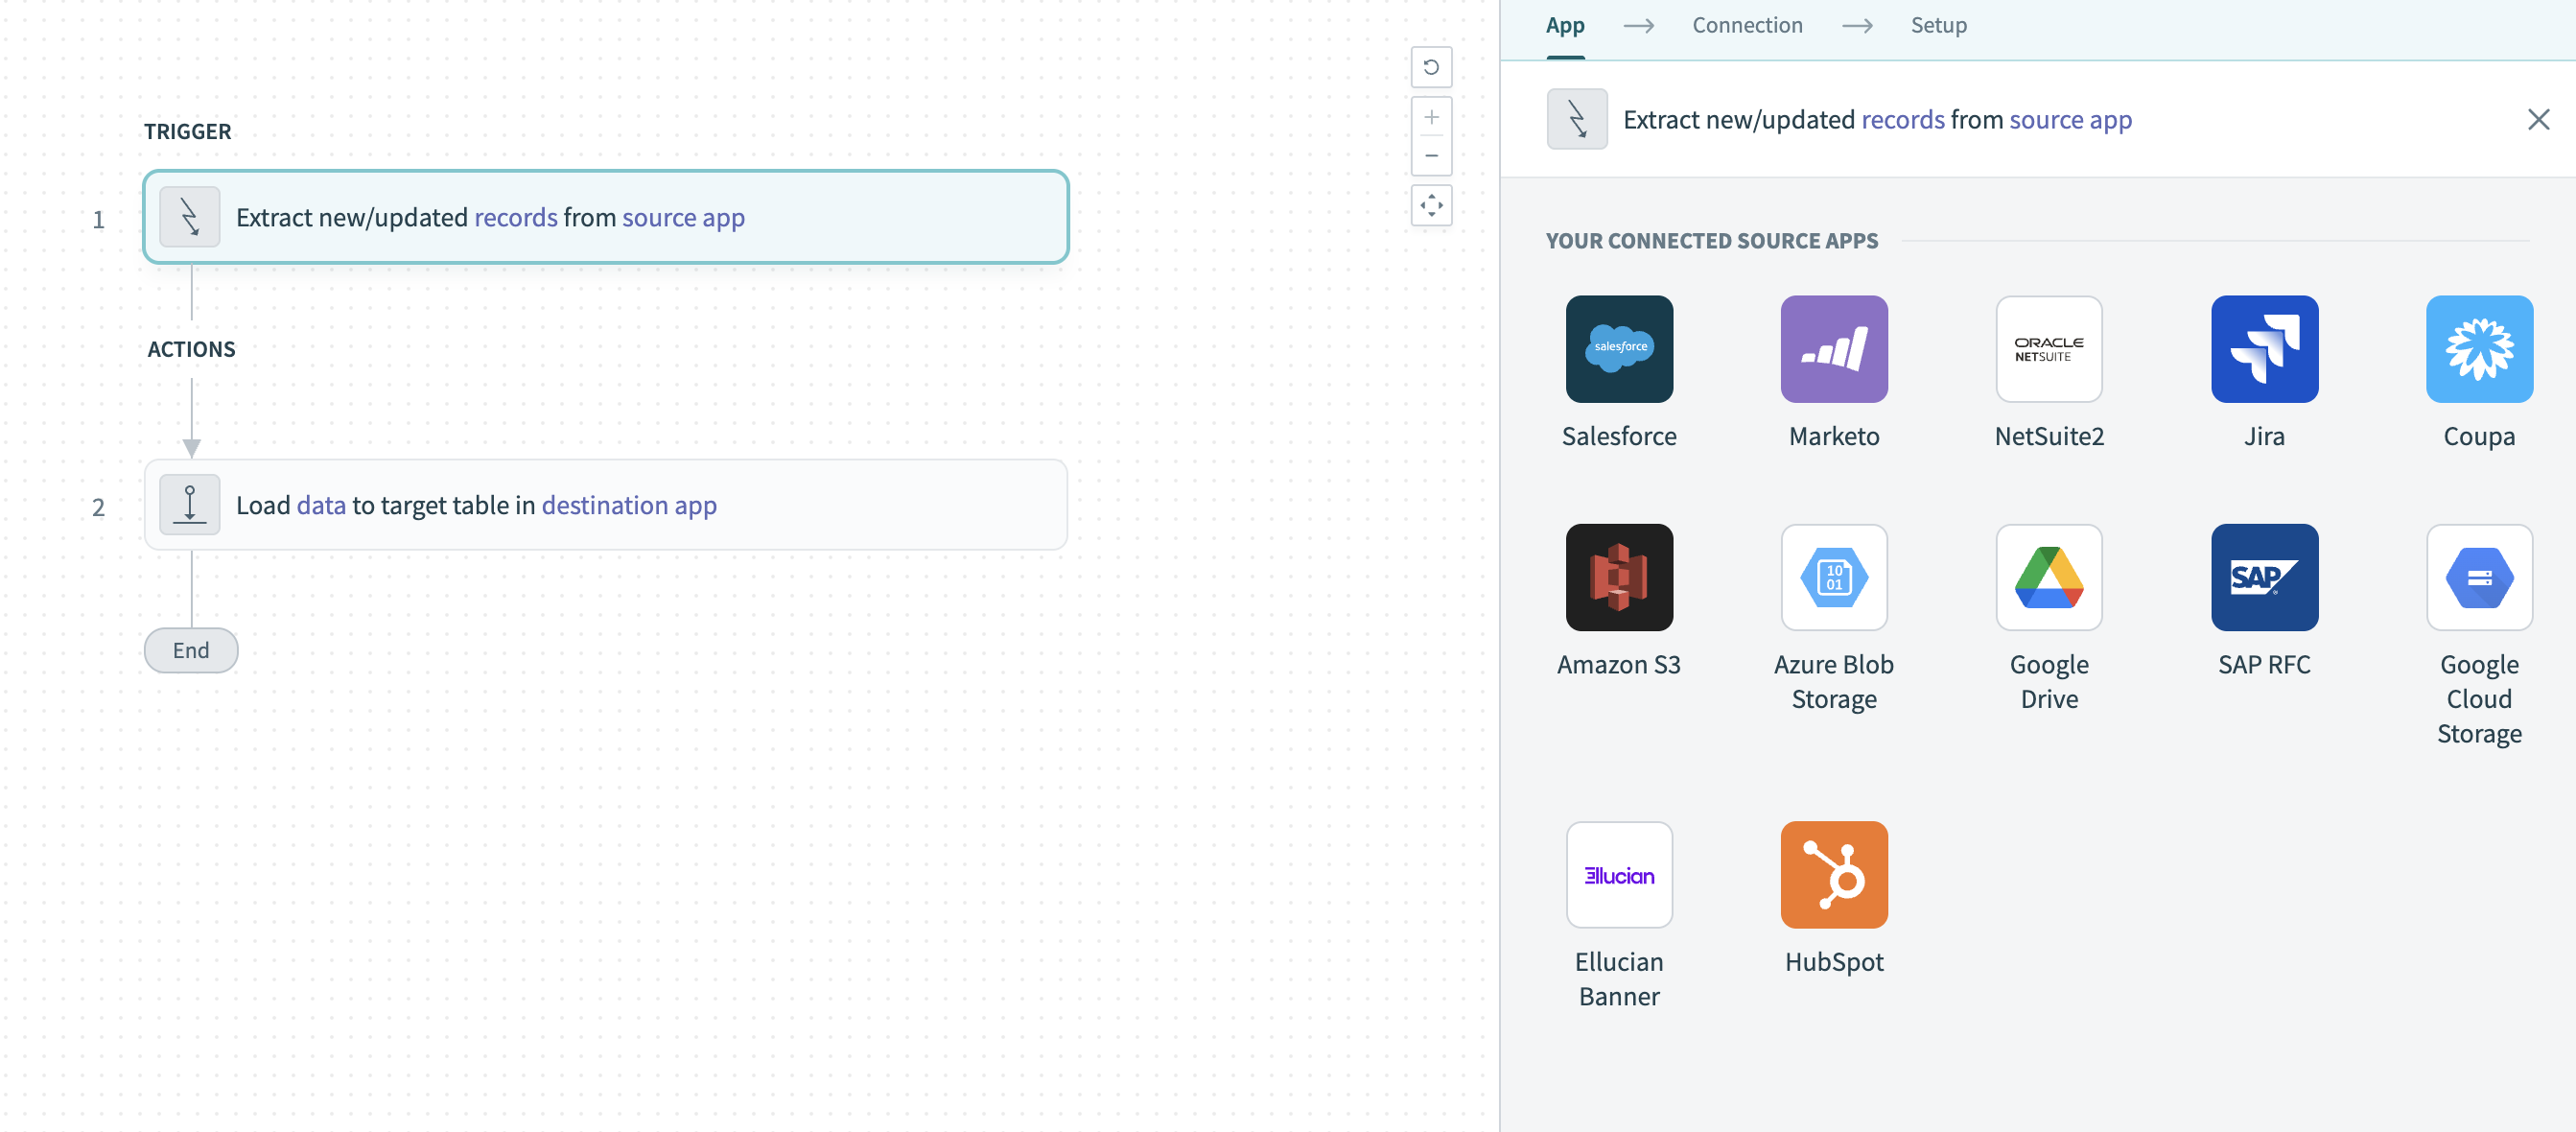
Click the Extract new/updated records from source app trigger. This trigger defines how the pipeline retrieves data from the source application.
 Configure the Extract new/updated records from source app trigger
Select Azure Blob Storage from Your Connected Source Apps.
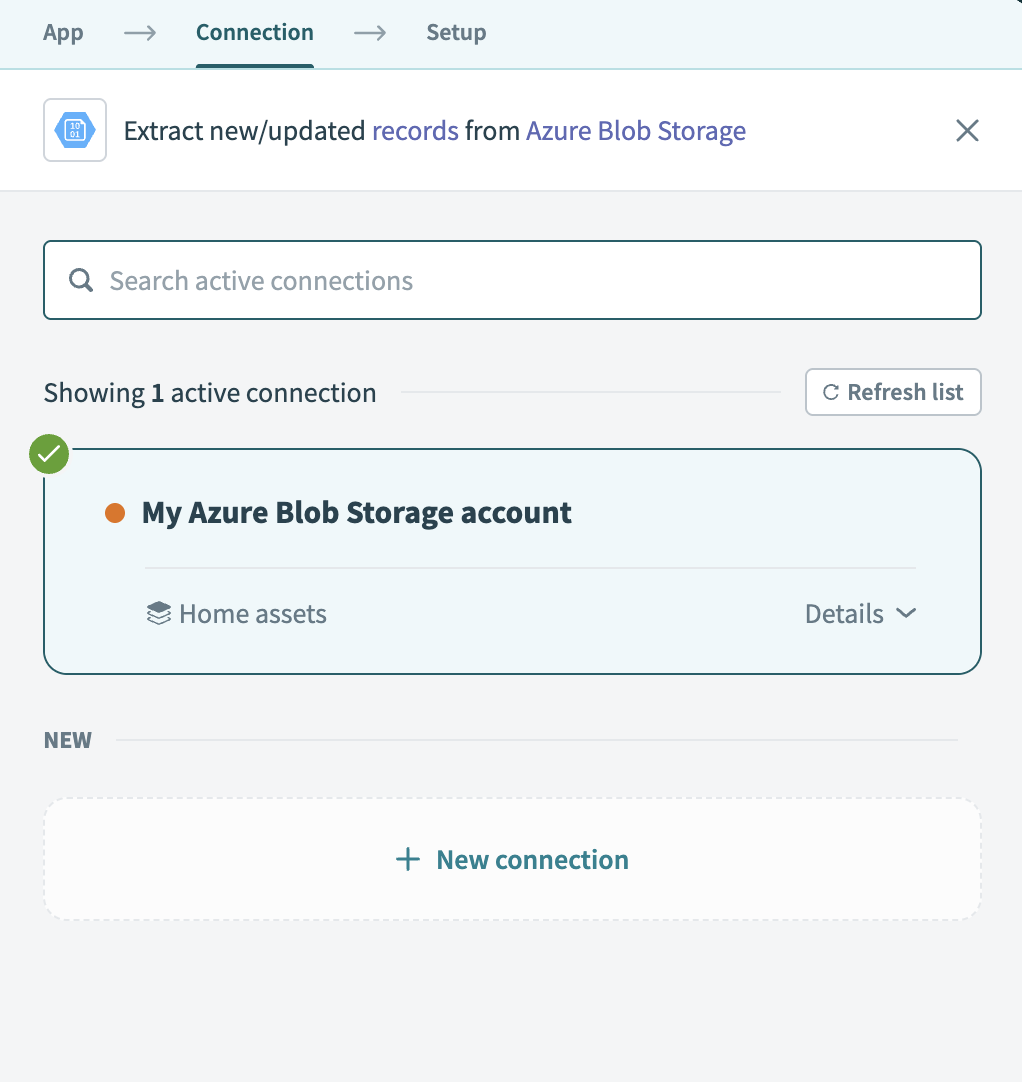
Choose the Azure Blob Storage connection you plan to use for this pipeline. Alternatively, click + New connection to create a new connection.
 Choose an Azure Blob Storage connection
Select the Azure Blob Storage container you plan to monitor in the Container name field.
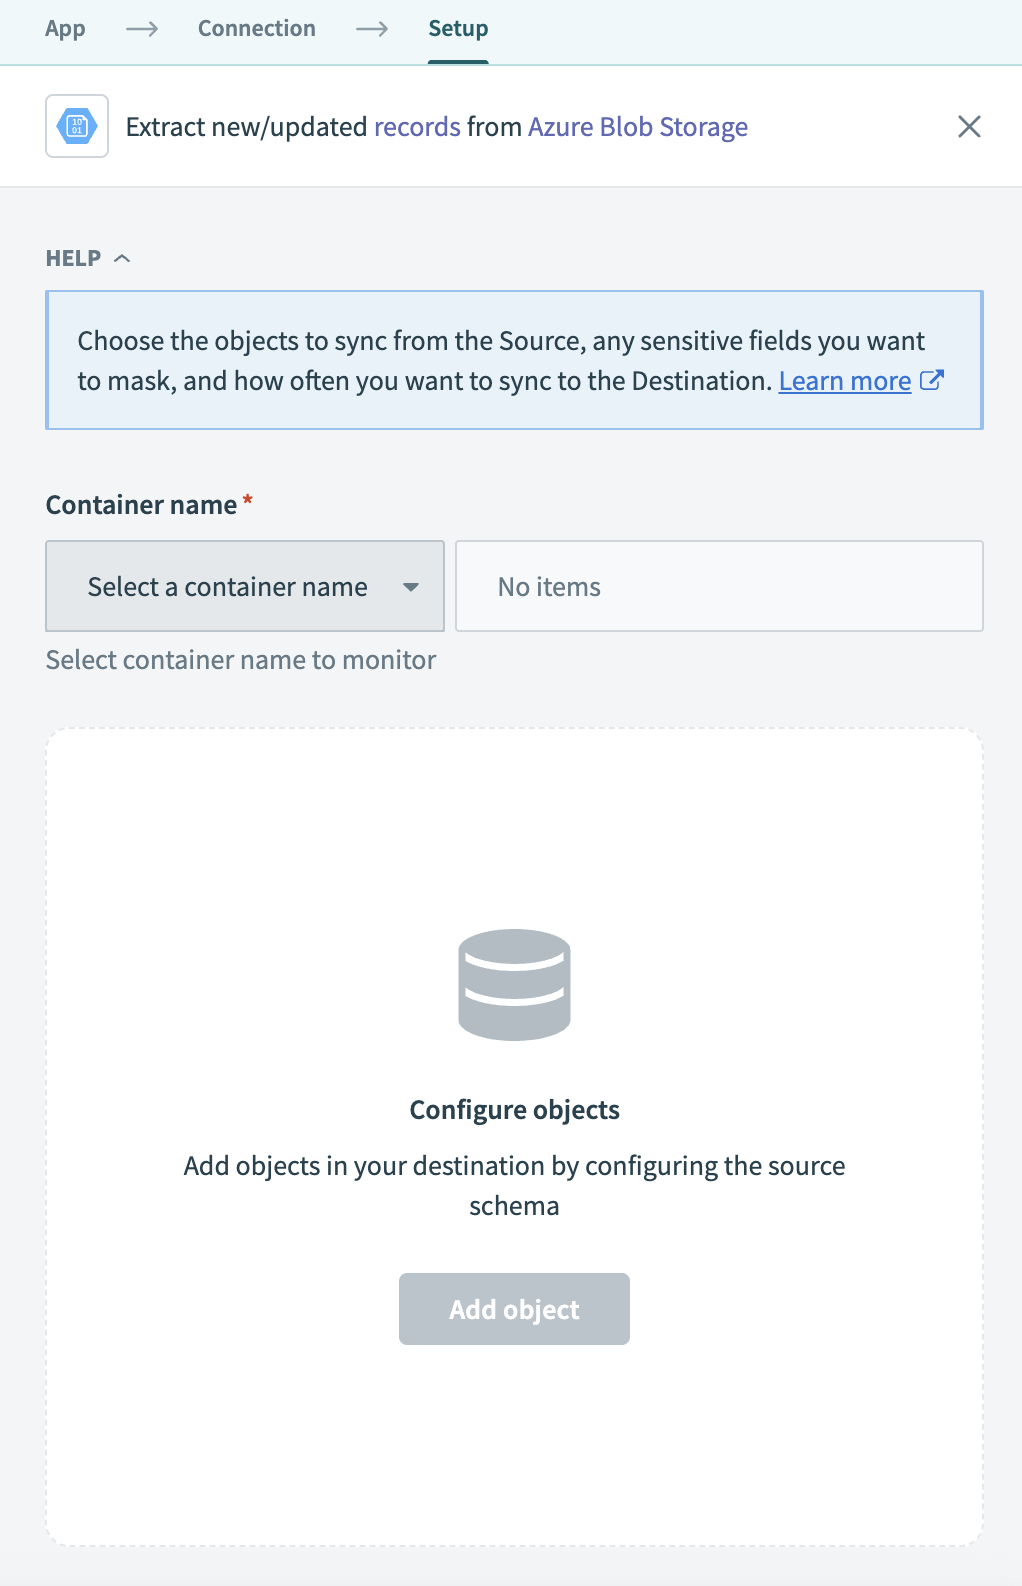 Select Azure Blob Storage container
Click Add object to configure files you plan the pipeline to monitor and sync.
Enter the folder path within the container in the Source Folder path field. The pipeline supports .csv files only.
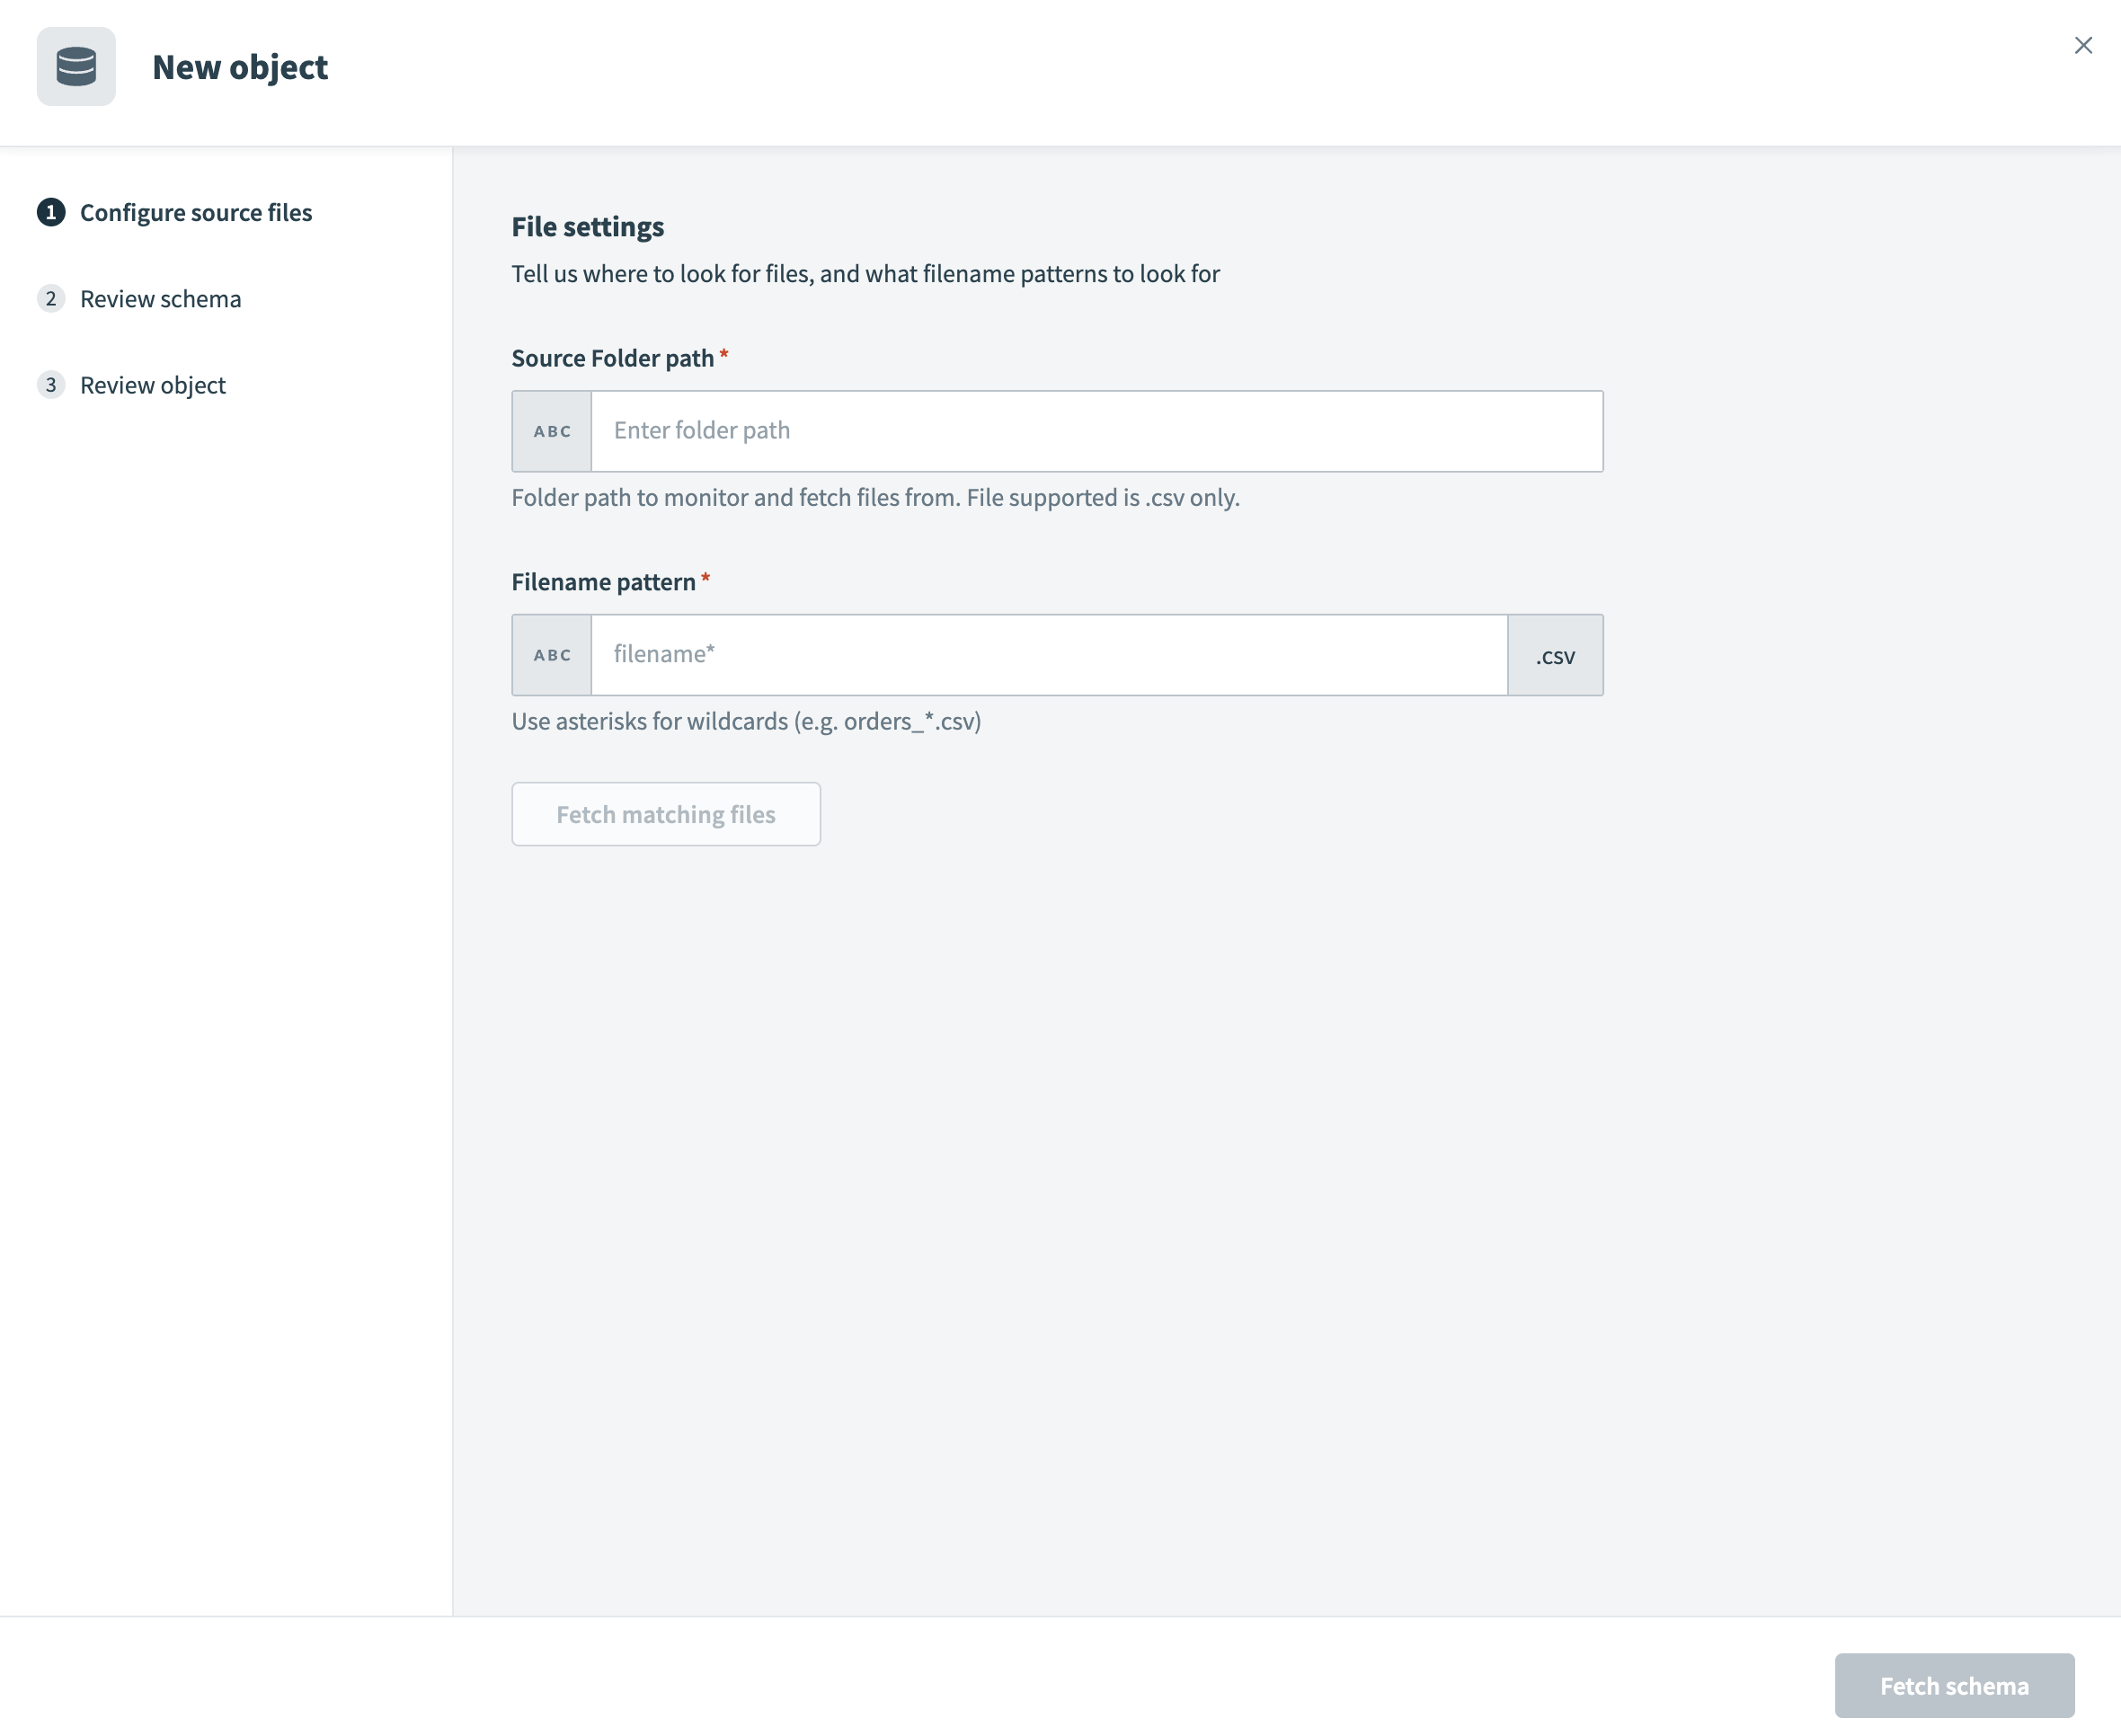 Configure file settings
Define which files to fetch using a pattern in the Filename pattern field. Use wildcards such as orders_*.csv to include multiple files.
Click Fetch matching files to preview files matching the defined pattern.
Select a Reference file to define the schema for the destination table.
Configure CSV settings:
Set whether the CSV includes a header in the Does CSV file include a header line? field.
Choose a delimiter in the Column delimiter field.
Click Fetch schema to load and preview columns from the reference file.
Review the schema to ensure it matches your expected table structure.
Configure how rows are merged in the destination table in the Choose a merge strategy field. Workato supports the following merge strategies:
- Upsert: Inserts new rows and updates existing rows. When you choose Upsert, the Merge method field appears. You must select a column that uniquely identifies each row. This key is used to determine whether a row exists in the destination and whether it's updated or inserted.
- Append only: Inserts all rows without attempting to match or update existing records. When you choose Append only, the pipeline doesn't match on a key and doesn't update existing rows.
Click Review object to confirm your setup. This screen displays your file settings, CSV options, and merge details.
Enter an Object name. This name defines the destination table name.
Click Finish to save the object configuration.
Review and customize the schema for each selected object. When you select an object, the pipeline automatically fetches its schema to ensure the destination matches the source.
Expand any object to view its fields. Keep all fields selected to extract all available data, or deselect specific fields to exclude them from data extraction and schema replication.
Optional. Configure field-level data protection. After you expand an object, choose how to handle each field:
- Replicate as is (default): Data values at the source are replicated identically to the destination.
- Hash: Hash sensitive data values in the column before syncing to your destination.
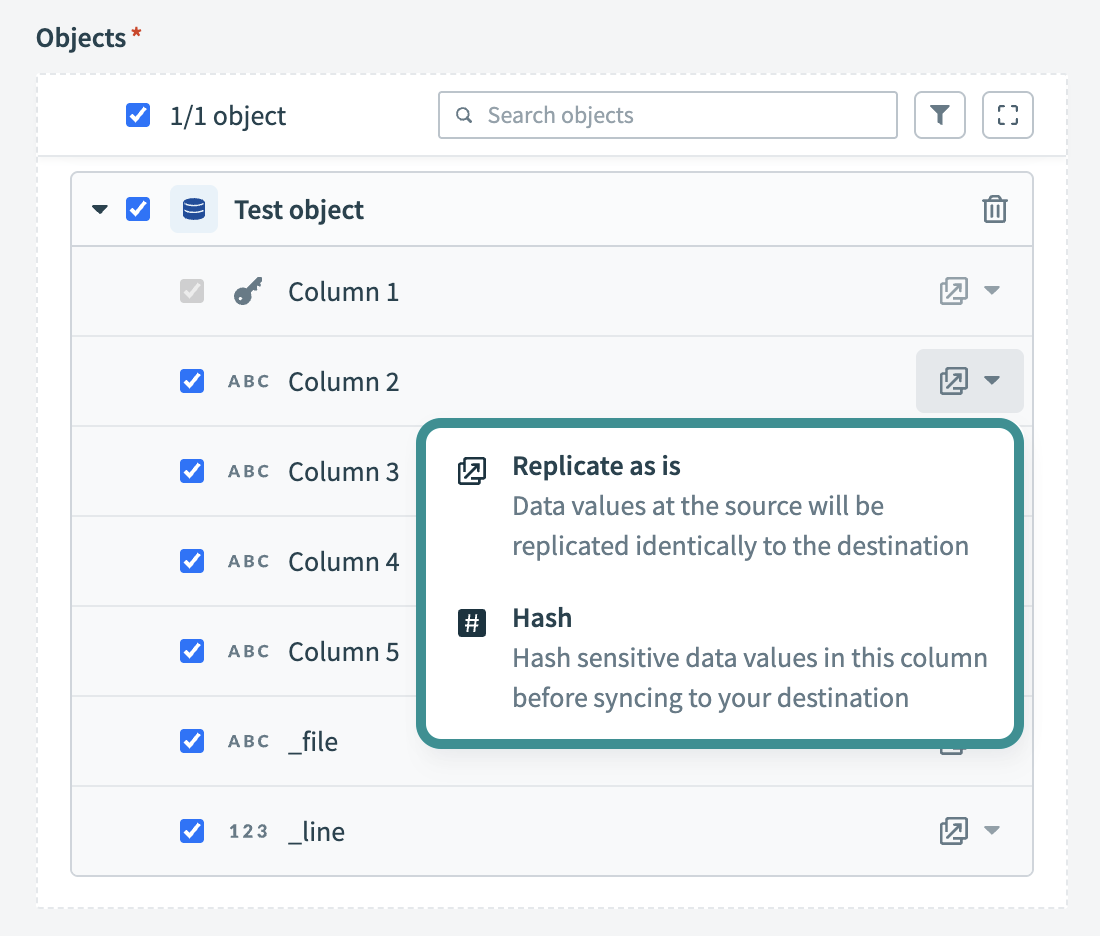 Configure field-level data protection
Click Add object again to add more objects using the same flow. You can repeat this step to include multiple Azure Blob Storage objects in your pipeline.
Choose how to handle schema changes:
- Select Auto-sync new fields to detect and apply schema changes automatically.
- Select Block new fields to manage schema changes manually. This option may cause the destination to fall out of sync if the source schema updates.
Unsynchronized schema changes, also known as schema drift, can cause issues if not managed. Refer to the Schema drift section for more information.
Configure how often the pipeline syncs data from the source to the destination in the Frequency field. Choose either a standard time-based schedule or define a custom cron expression.
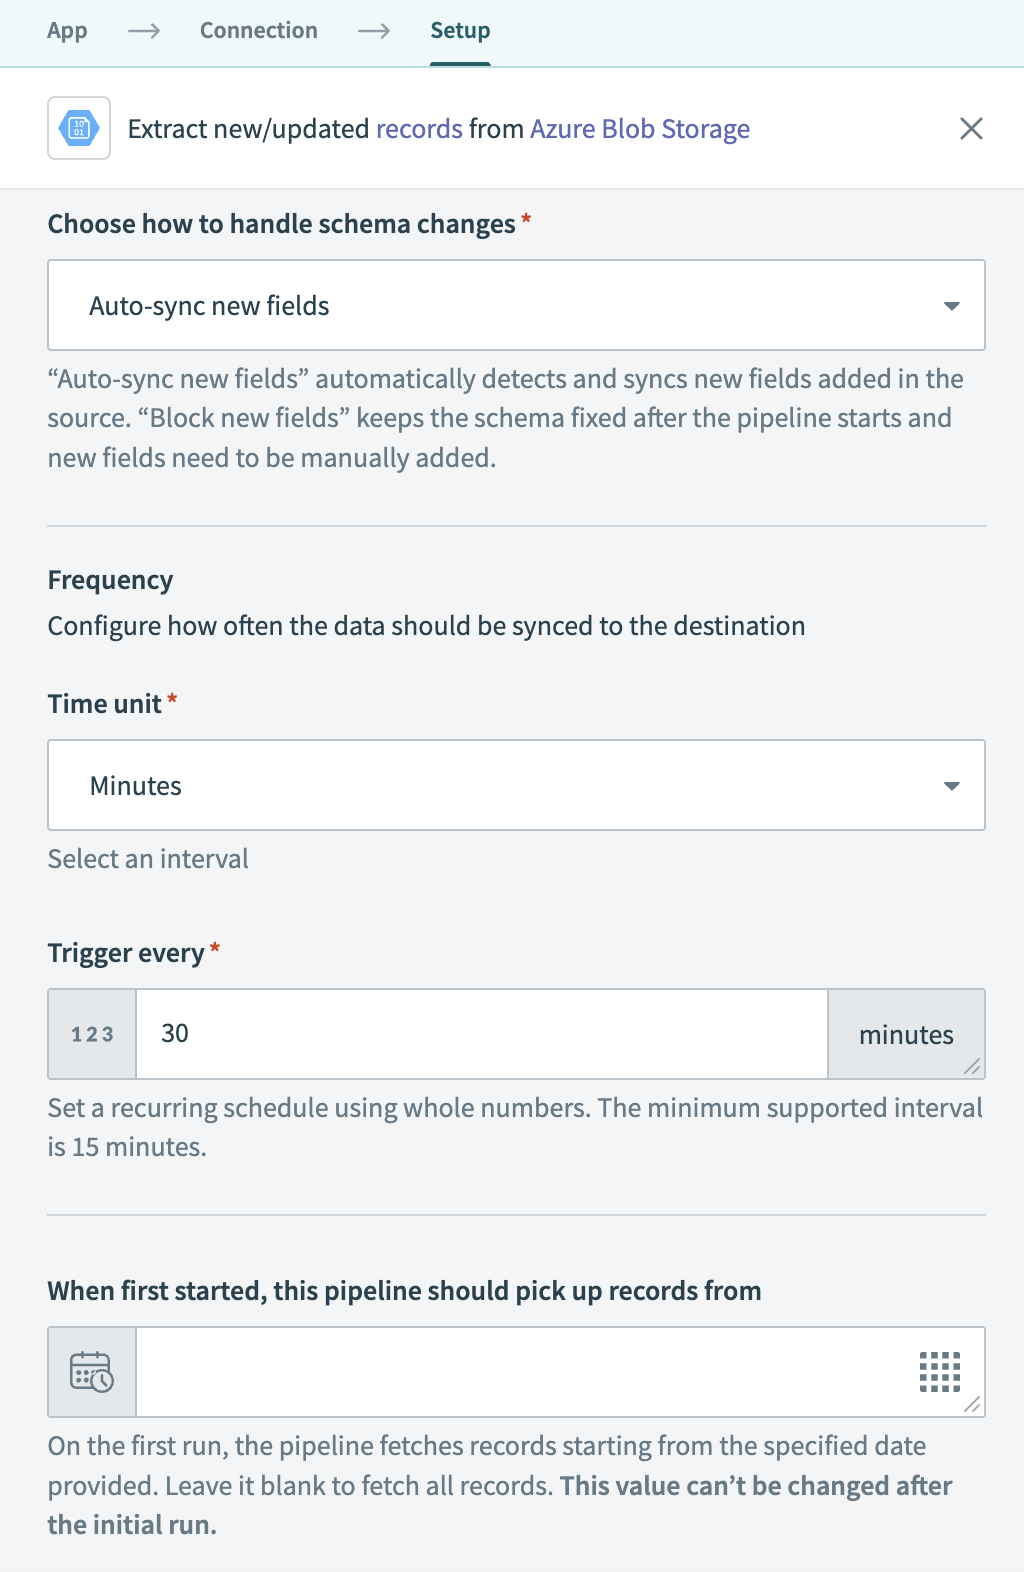 Configure sync frequency
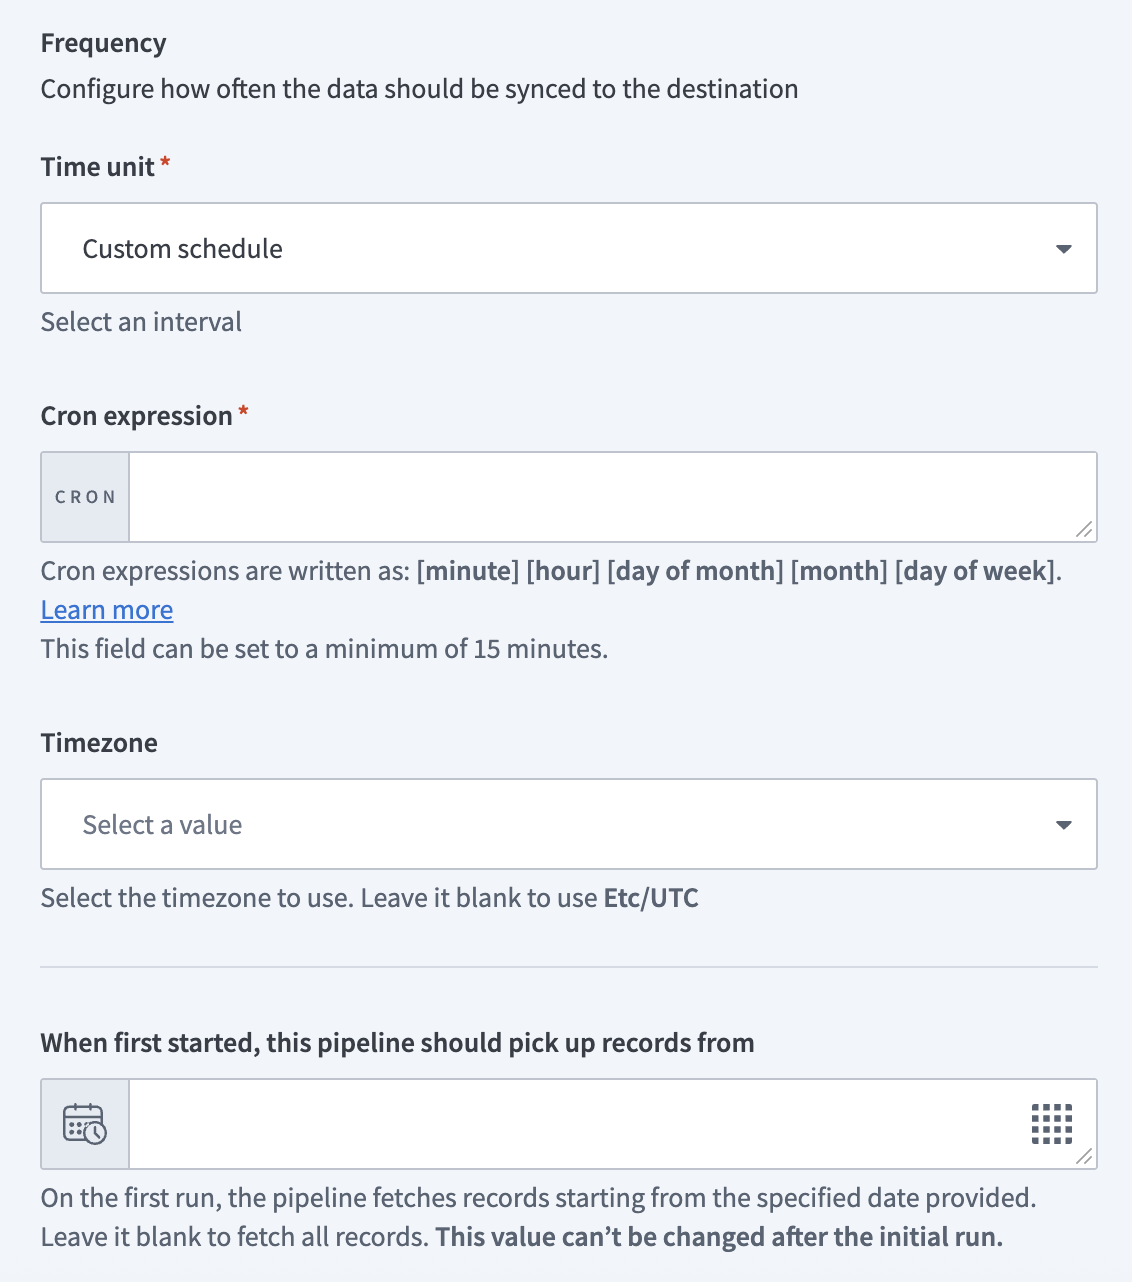 Configure sync frequency
File schema and processing
The Azure Blob Storage connector reads .csv files stored in containers. These files define the structure and data that the pipeline extracts and syncs to your destination.
Workato infers the schema and data types from the selected reference file and maps them to the destination table. Workato treats date and date-time values as strings for .csv files. Transform these fields to the appropriate date or date-time type in the destination after the load completes.
All files processed by the pipeline must maintain the same column structure and data format as the reference file to ensure accurate schema mapping.
Last updated: