Configure NetSuite2 as your data pipeline source
Set up NetSuite2 as a data pipeline source to extract and sync records into your destination using the SuiteAnalytics Connect service. This guide includes connection setup, pipeline configuration, and key behavior for working with NetSuite2 as a source.
Features supported
The following features are supported when using NetSuite2 as a data pipeline source:
- Extract data using the SuiteAnalytics Connect service
- Support for full and incremental sync
- Field-level selection for object extraction
- Schema drift detection and handling
- Field-level data masking
Prerequisites
You must have the following configuration and access:
- SuiteAnalytics Connect feature enabled in your NetSuite account
- Valid NetSuite Connect user with access to SuiteAnalytics
- Read access to the tables used in the pipeline
How to connect
Workato uses the SuiteAnalytics Connect service for NetSuite2 integrations. Complete the following steps to create a NetSuite2 connection.
Connect to NetSuite2
NetSuite2 connections use the SuiteAnalytics Connect service. Ensure this feature is enabled in your NetSuite account before creating the connection.
Refer to NetSuite documentation for steps to enable the Connect Service feature.
Complete the following steps to connect to NetSuite2 as a data pipeline source. This connection allows the pipeline to extract and sync data from NetSuite2.
Select Create > Connection.
Search for and select NetSuite2 on the New connection page.
Enter a name in the Connection name field.
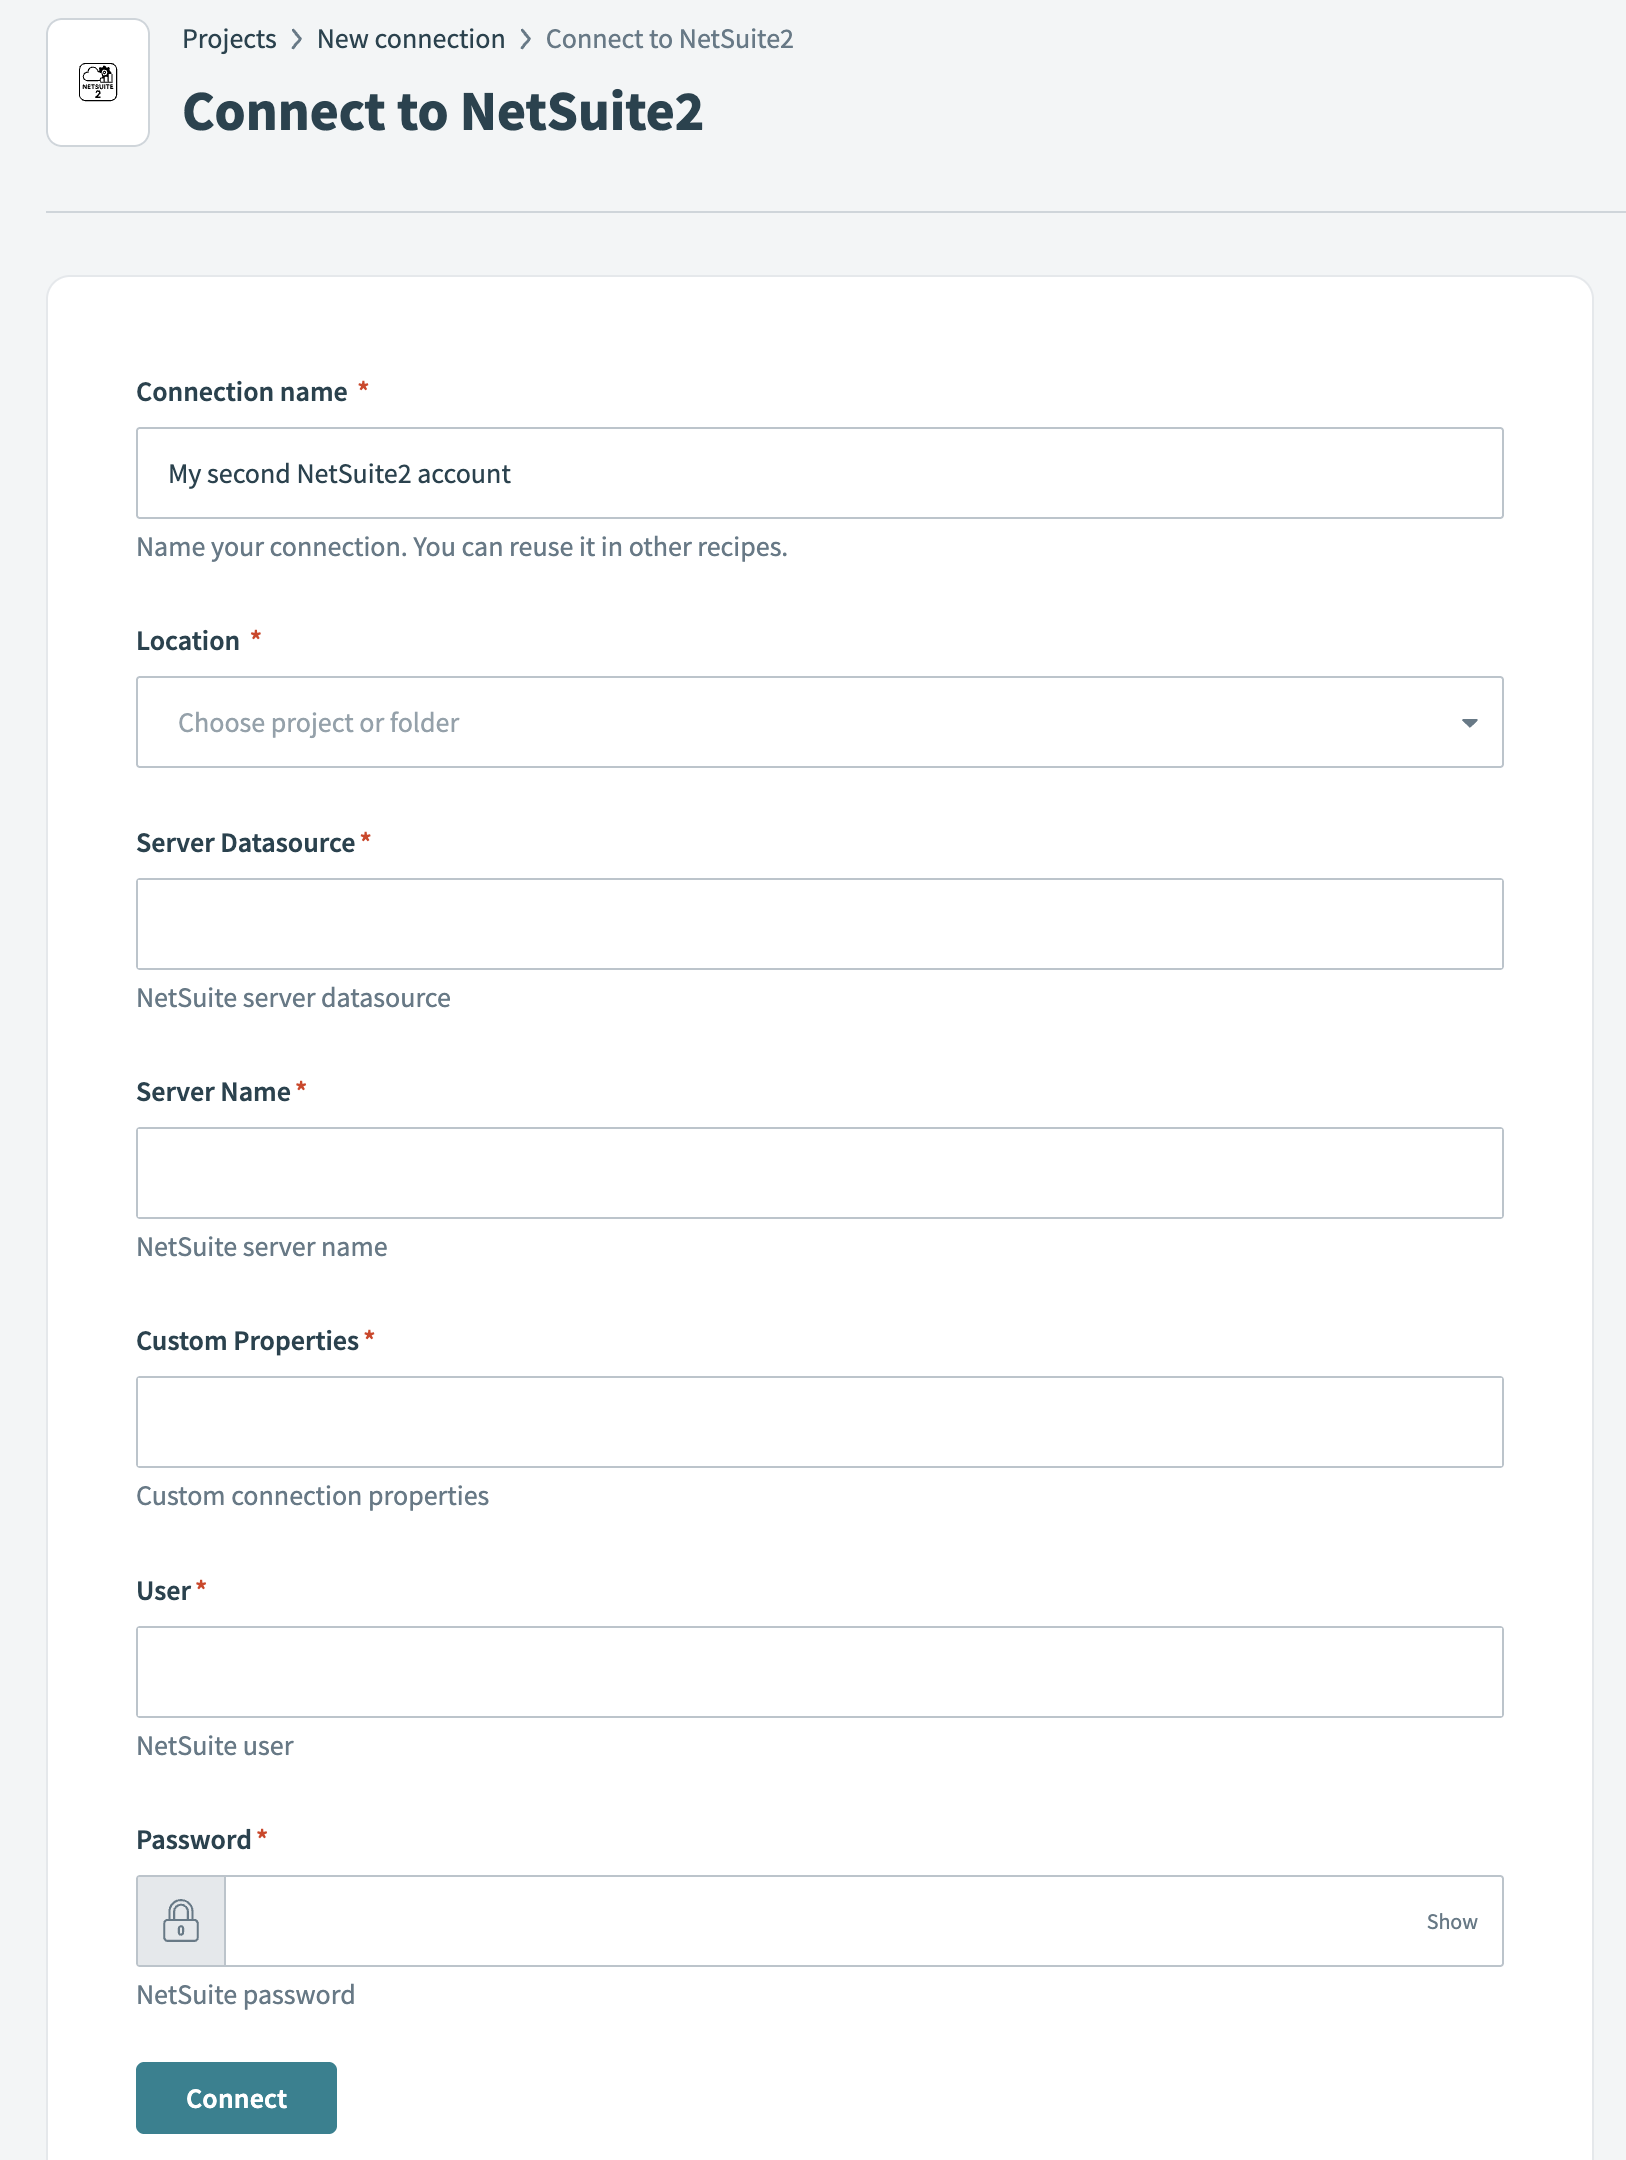 NetSuite2 connection setup
Use the Location drop-down to select the project where you plan to store the connection.
Enter the Server Datasource. This is the NetSuite server datasource assigned to your account.
Enter the Server Name. This is the specific server that hosts your NetSuite instance.
Enter any required Custom Properties. These are additional properties defined in your NetSuite connector setup.
Enter your User credentials. This field accepts the NetSuite user ID used for integration access.
Enter your Password for the NetSuite account.
Click Connect to verify and establish the connection.
Configure the pipeline
Ensure that the SuiteAnalytics Connect feature is enabled in your NetSuite account before you use NetSuite2 as a source. This feature allows the pipeline to access NetSuite data through the SuiteAnalytics framework.
Refer to NetSuite documentation for details on enabling this feature.
Complete the following steps to configure NetSuite2 as your data pipeline source:
Select Create > Data pipeline.
Provide a Name for the data pipeline.
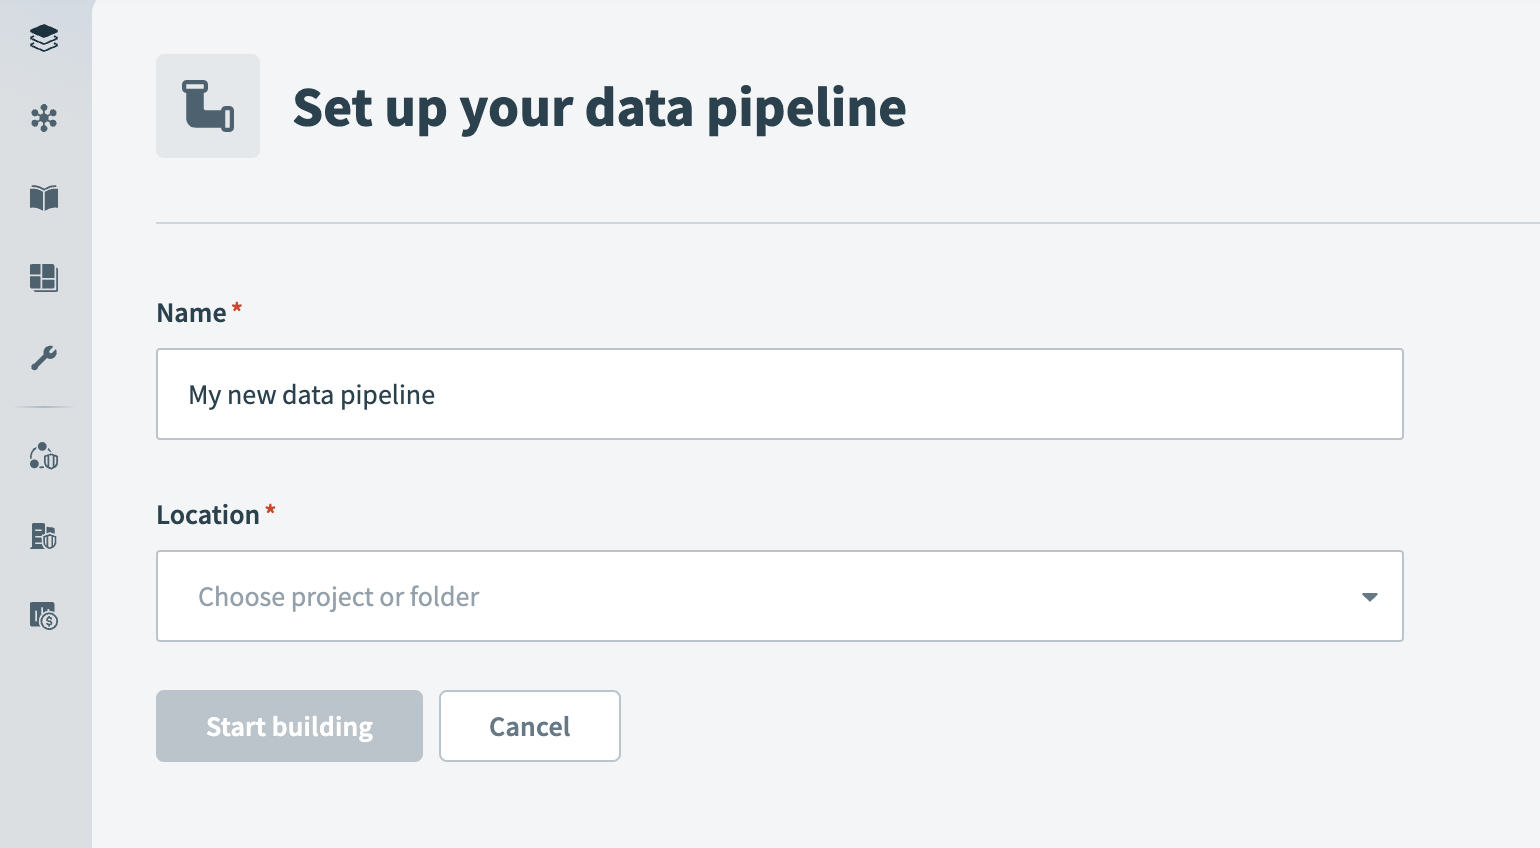 Data pipeline setup
Use the Location drop-down menu to select the project where you plan to store the data pipeline.
Click Start building.
Click the Extract new/updated records from source app trigger. This trigger defines how the pipeline retrieves data from the source application.
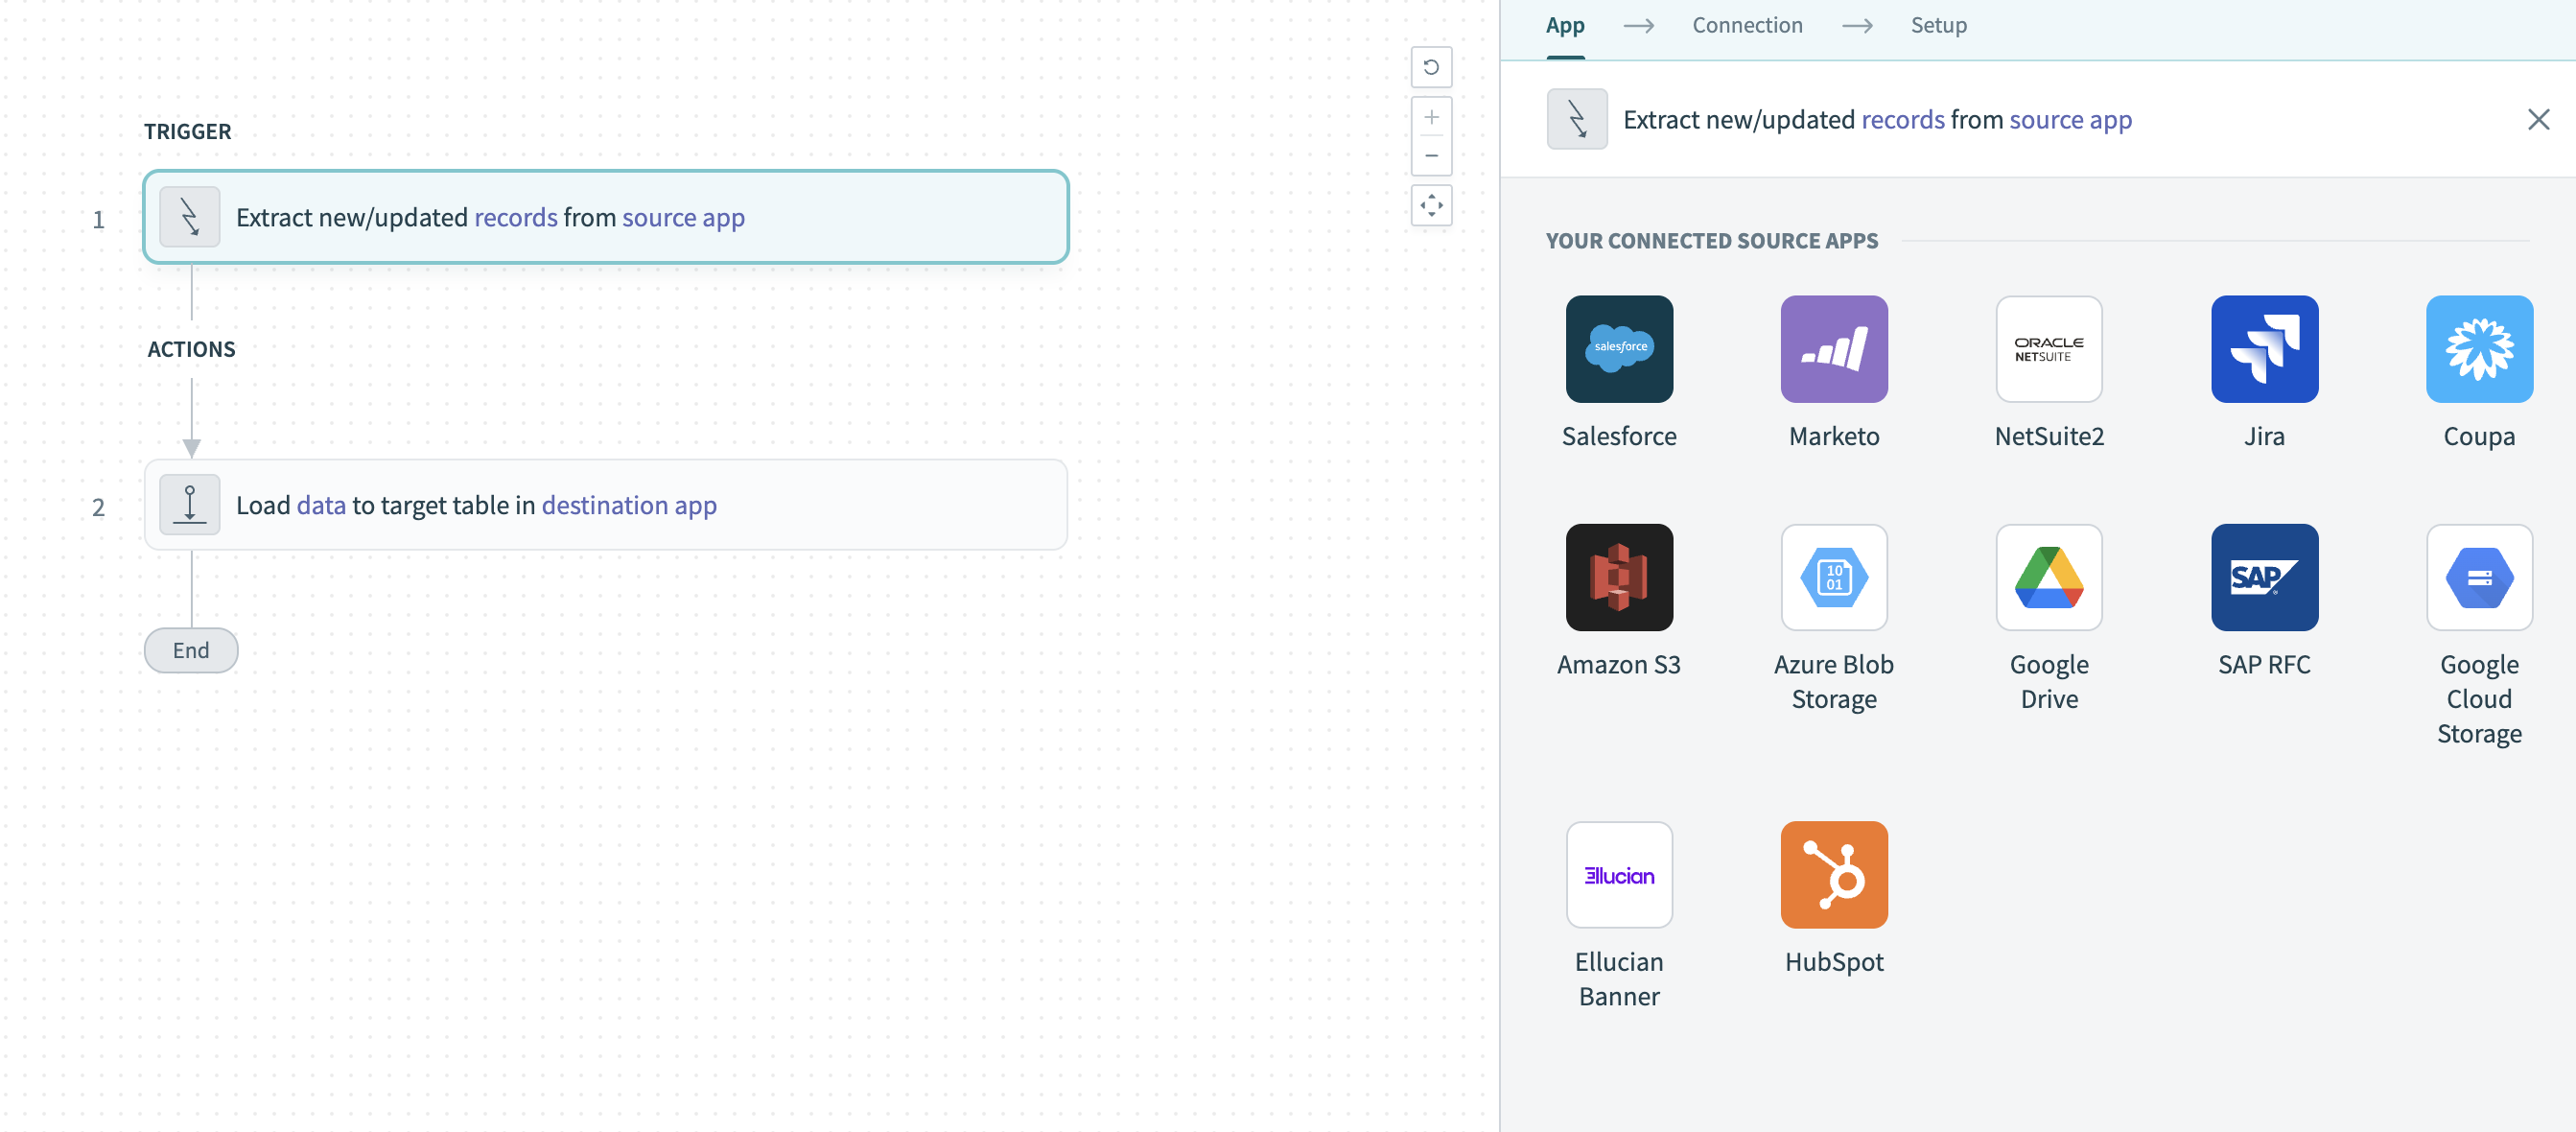 Configure the Extract new/updated records from source app trigger
Select NetSuite2 from Your Connected Source Apps.
Choose the NetSuite2 connection you plan to use for this pipeline. Alternatively, click + New connection to create a new connection.
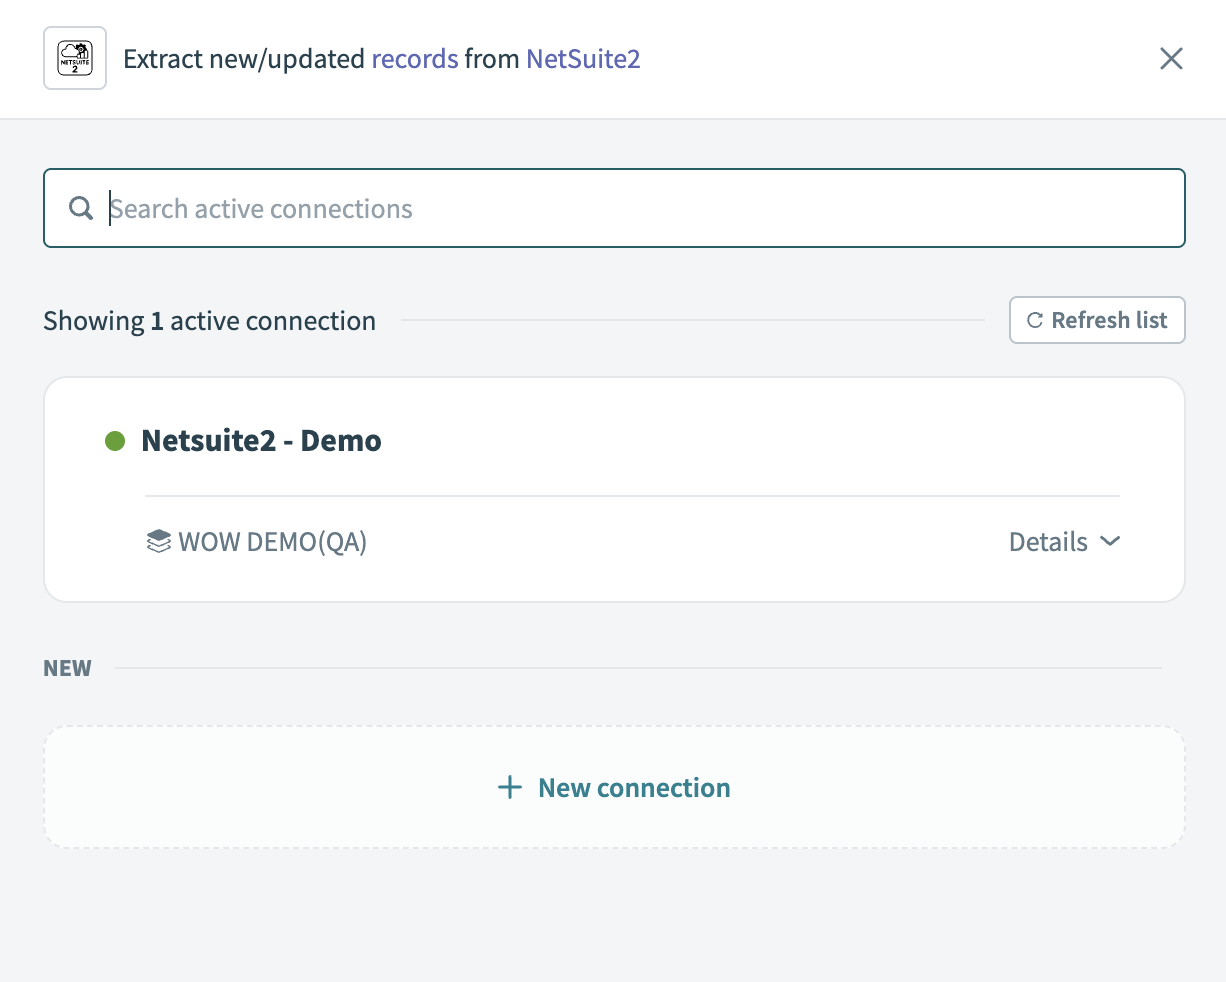 Choose a NetSuite2 connection
Click Add object to open the object wizard.
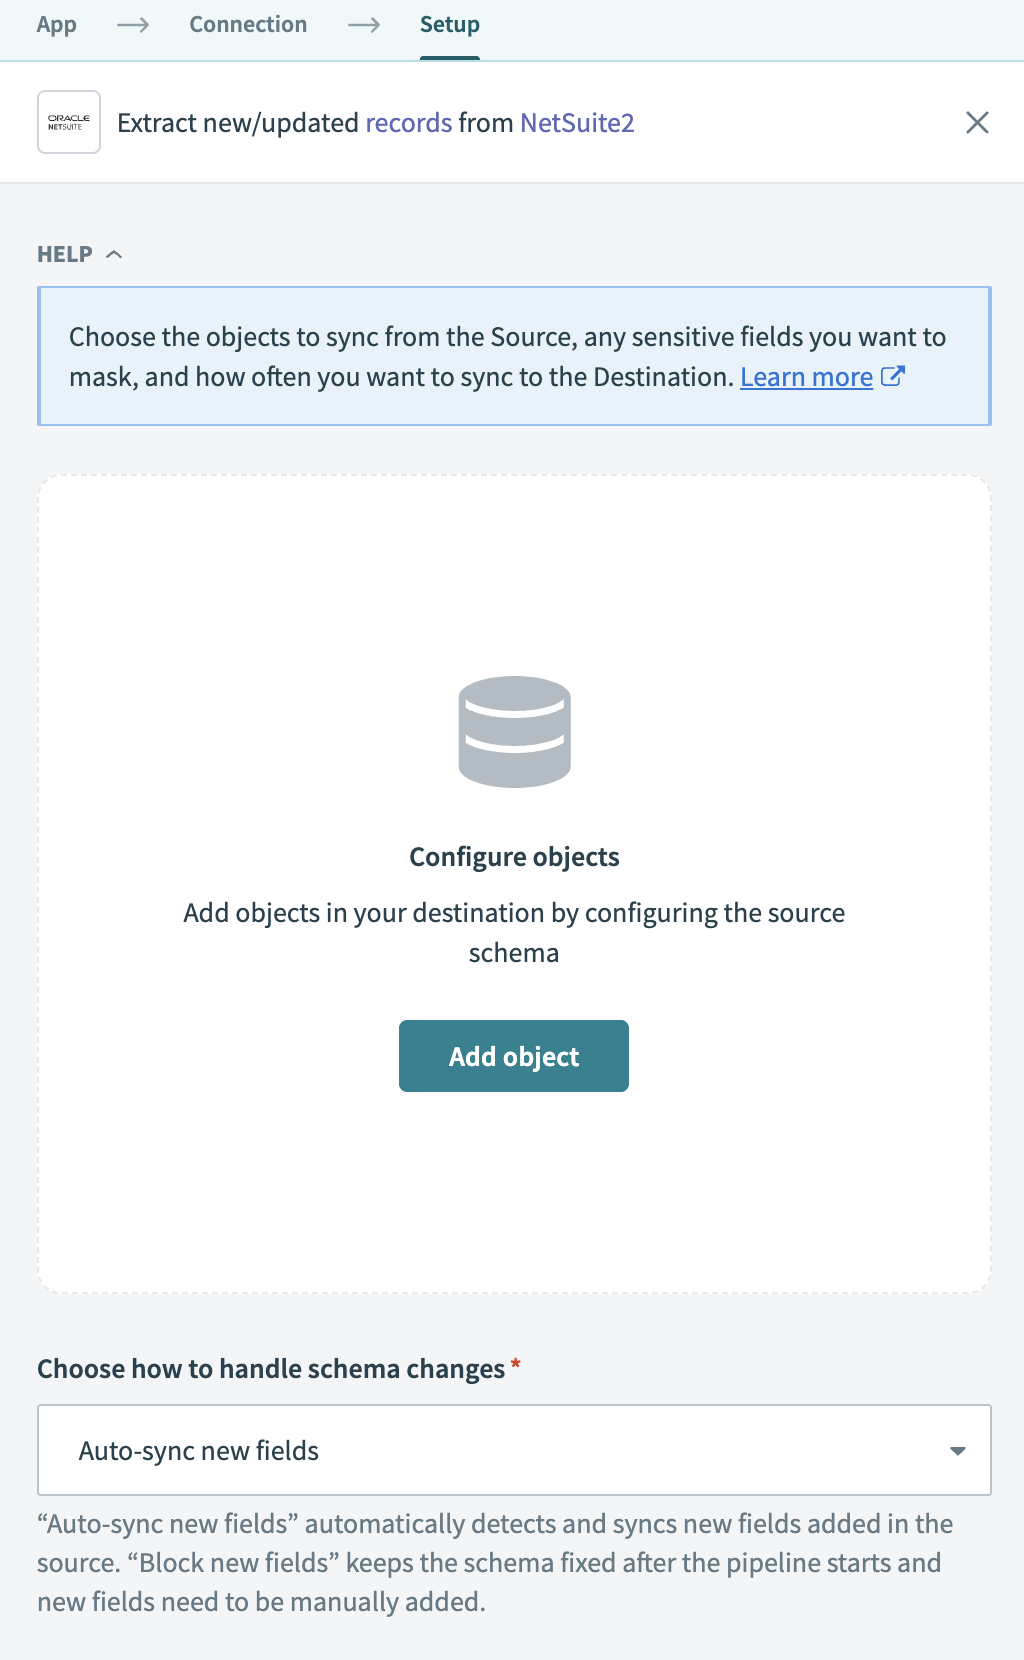 Add object
Search or browse the list of available NetSuite2 objects. Select the objects you plan to sync and click Add.
Review and customize the schema for each selected object. When you select an object, the pipeline automatically fetches its schema to ensure the destination matches the source.
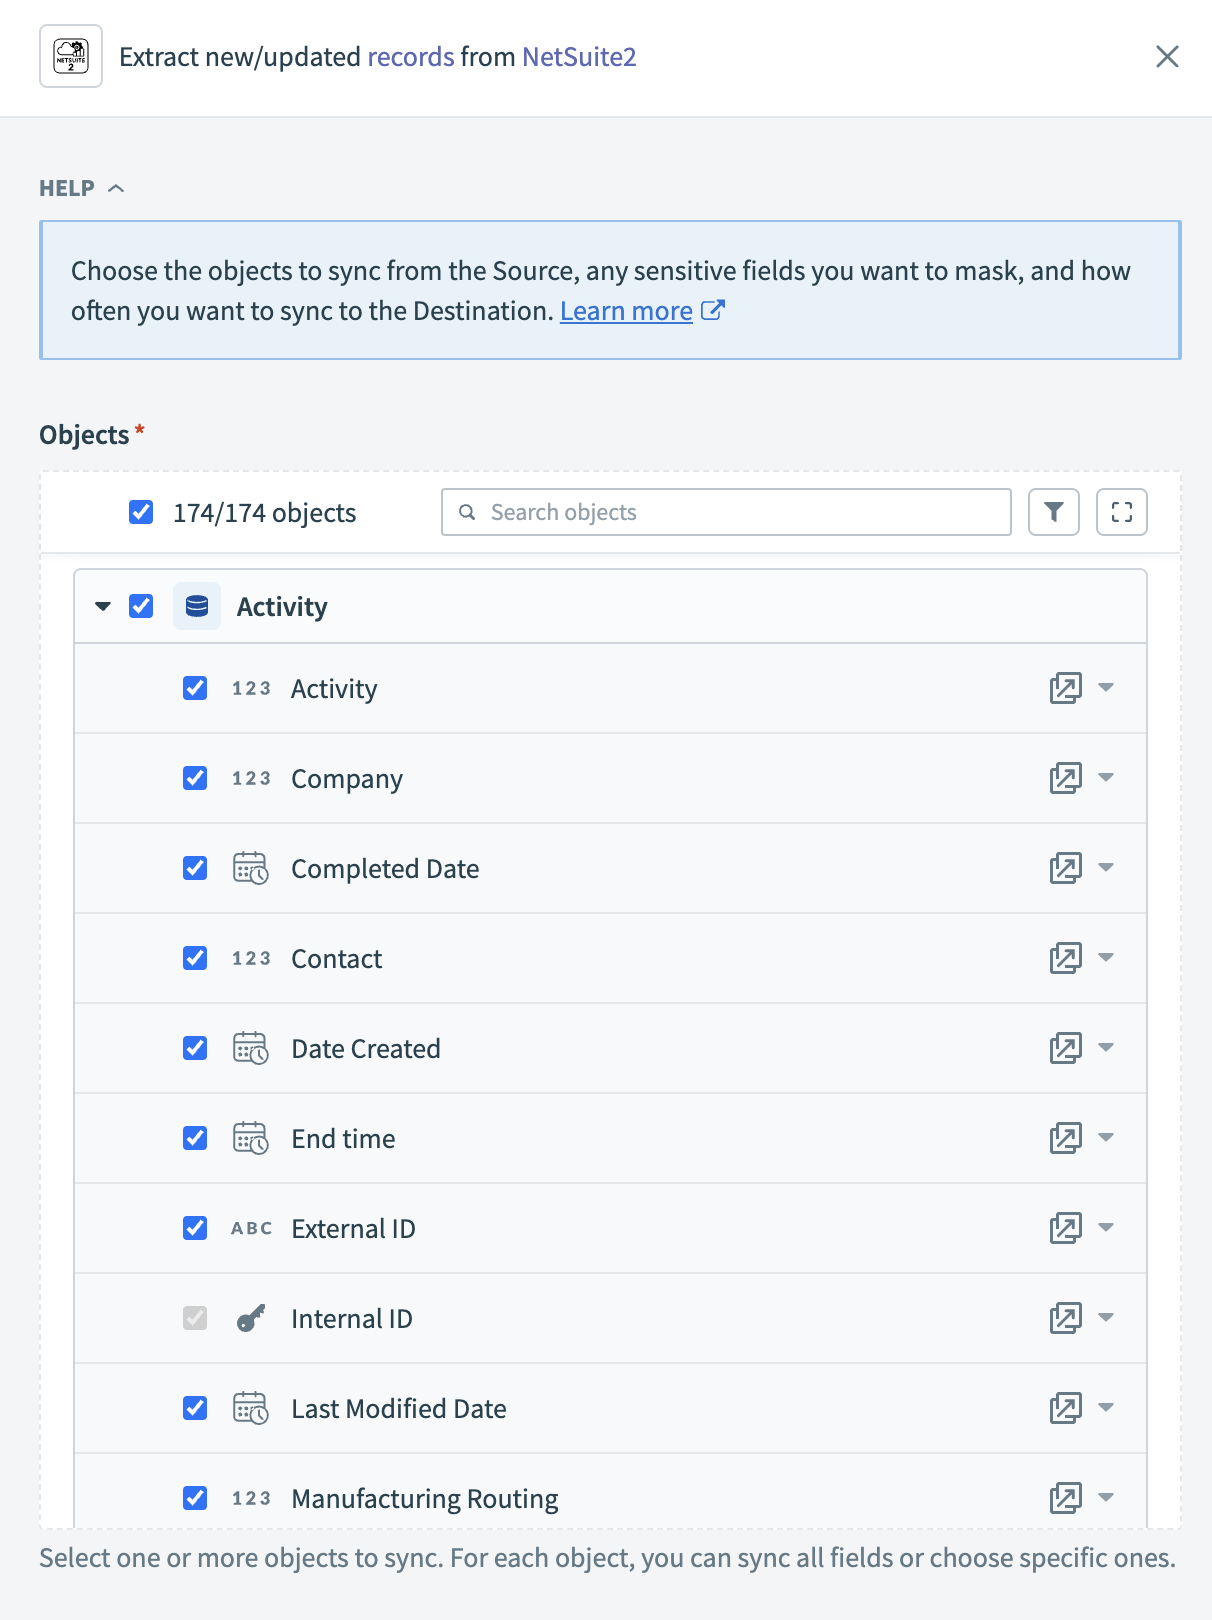 Expand object
You can expand any object to view its fields. Keep all fields selected to extract all available data, or deselect specific fields to exclude them from data extraction and schema replication.
Click Add object again to add more objects using the same flow. You can repeat this step to include multiple NetSuite2 objects in your pipeline.
Choose how to handle schema changes:
- Select Auto-sync new fields to detect and apply schema changes automatically.
- Select Block new fields to manage schema changes manually. This option may cause the destination to fall out of sync if the source schema updates.
Unsynchronized schema changes, also known as schema drift, can cause issues if not managed. Refer to the Schema drift section for more information.
Configure how often the pipeline syncs data from the source to the destination in the Frequency field. Choose either a standard time-based schedule or define a custom cron expression.
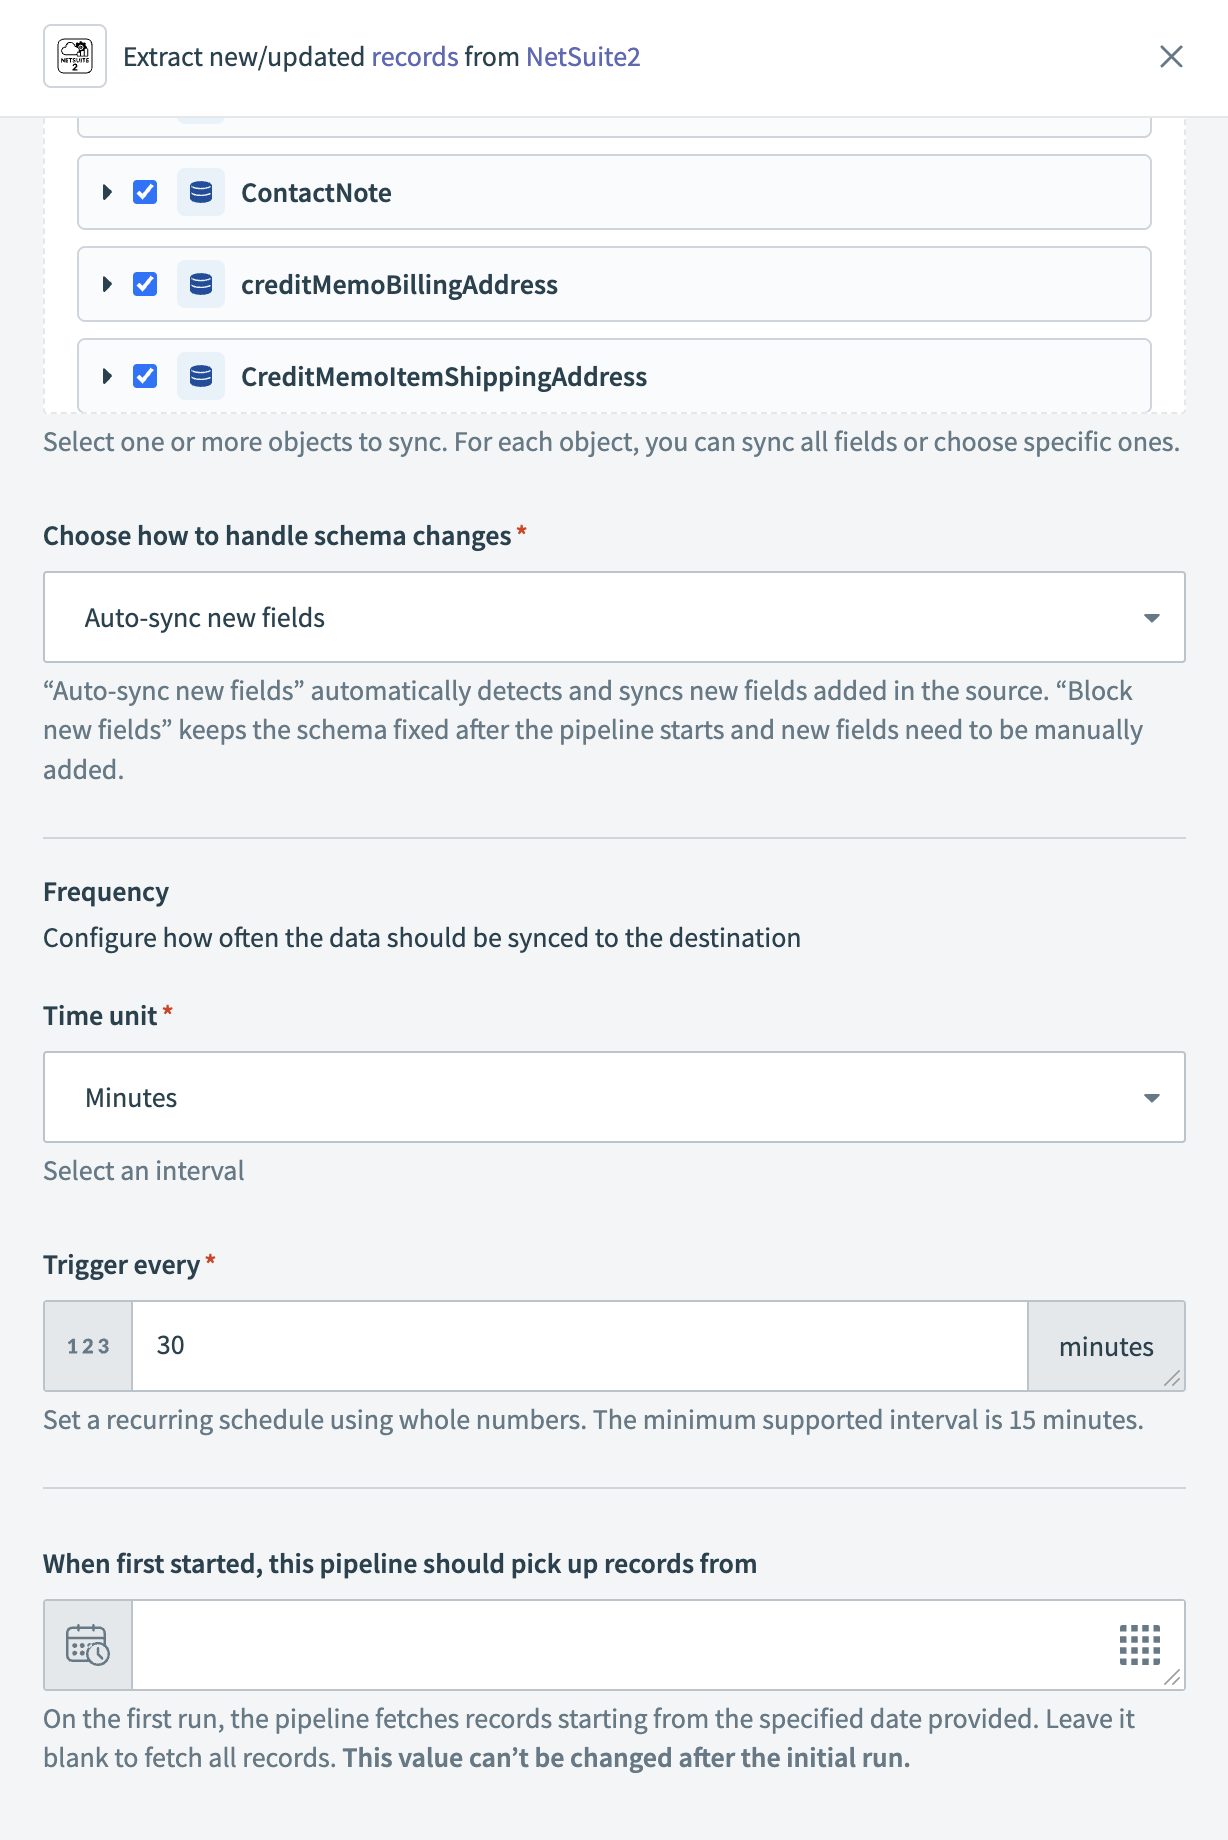 Configure sync frequency
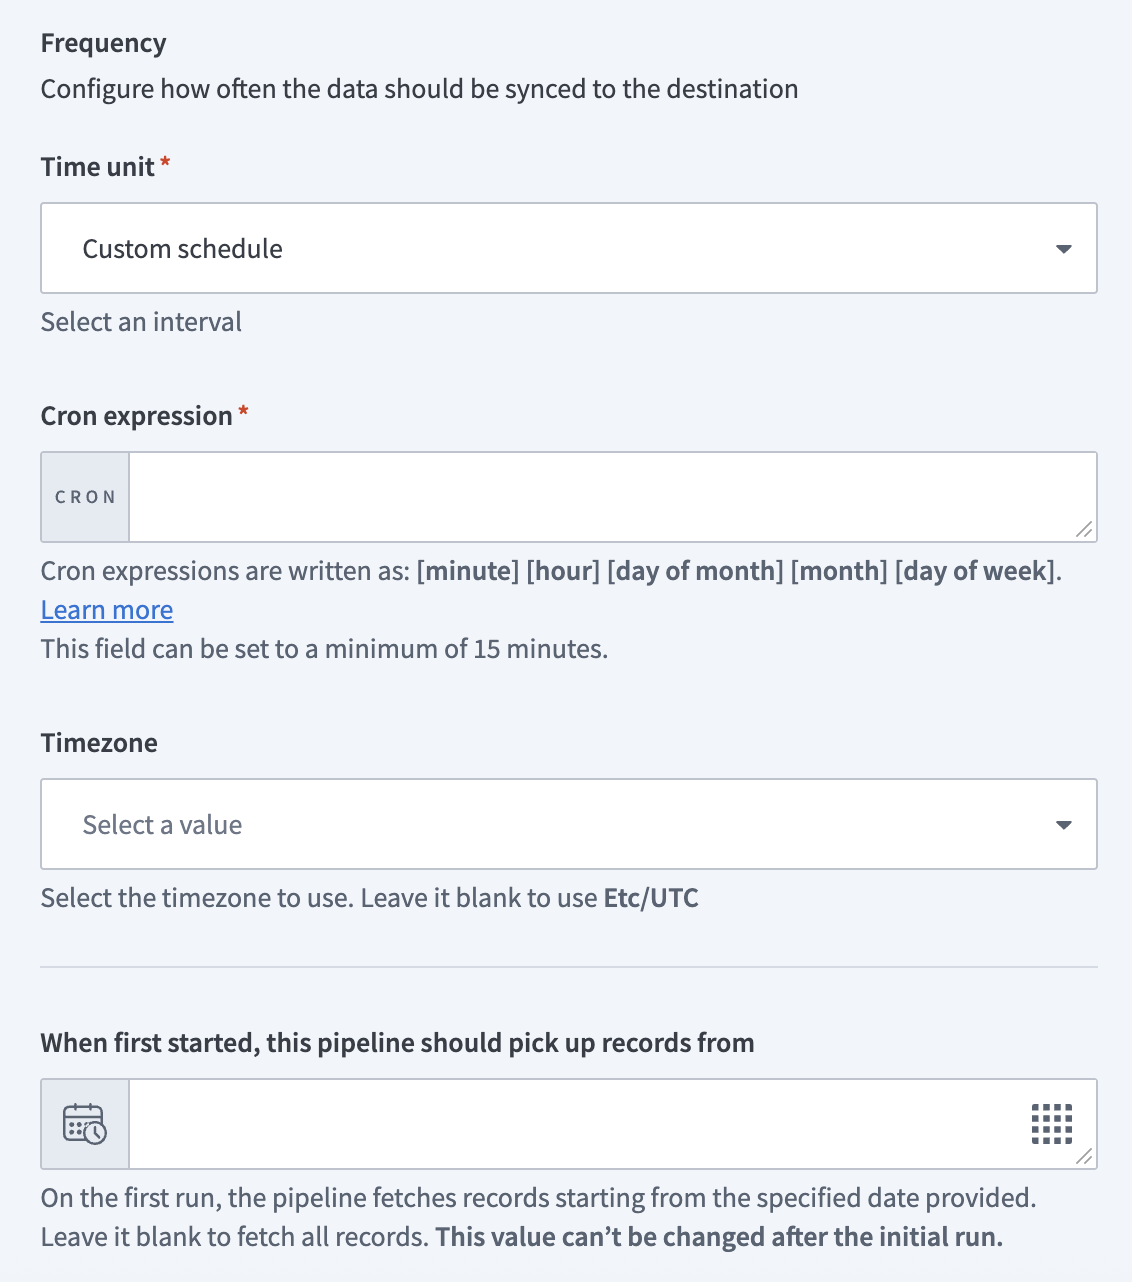 Configure sync frequency
Supported NetSuite2 records
The NetSuite2 connector supports most NetSuite records and tables exposed through the SuiteAnalytics Connect service. These typically include common entities such as transactions, customers, vendors, items, accounts, and other standard record types available in your NetSuite account.
Workato uses SuiteAnalytics Connect to retrieve metadata and record data for these tables, so the set of available records depends on your NetSuite instance configuration and role permissions.
Last updated: